WEEK 12
[2] LATENT SPACE

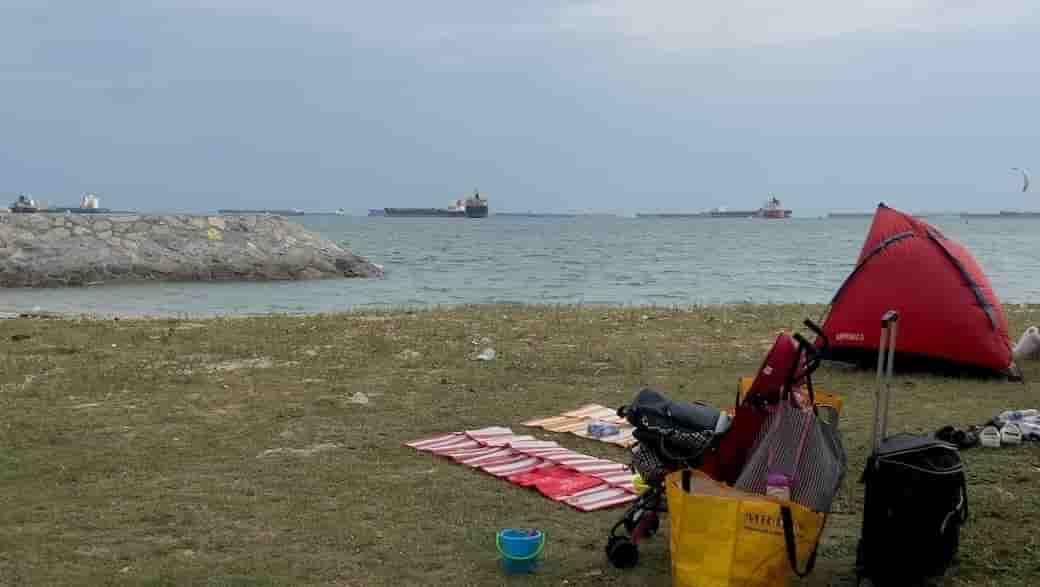
STYLEGAN3 Demo on Hugging Face
Trying Hugging Face
I began to search out generative model that are able to use interpolation techniques for image generation. I asked ChatGPT, and it said that I can start by using pre-trained generative model such as StyleGAN (Style Generative Adversarial Network) or Stable Diffusion from Hugging Face, and create my own app (interface) using Gradio—an open source Python package that allows you to build a demo or web application for your machine learning model.
I decided to use Stable Diffusion as I came across this available notebook (post) that has been shared on the platform. The notebook gives a good brief intruction and also the source code about how to use Stable Diffusion to interpolate images, creating intermediate images that smoothly transition from one given image to another.
It also says that I can create my own parameter of the interpolation, giving me a range of output (which I needed as the objective I had was to gain the middle data point that is happening in the transition). I can set the parameter to 10 (usually the parameter would be called as a t) and set the range to 5 to interpolate the images and get the image generated as an intermediate point.
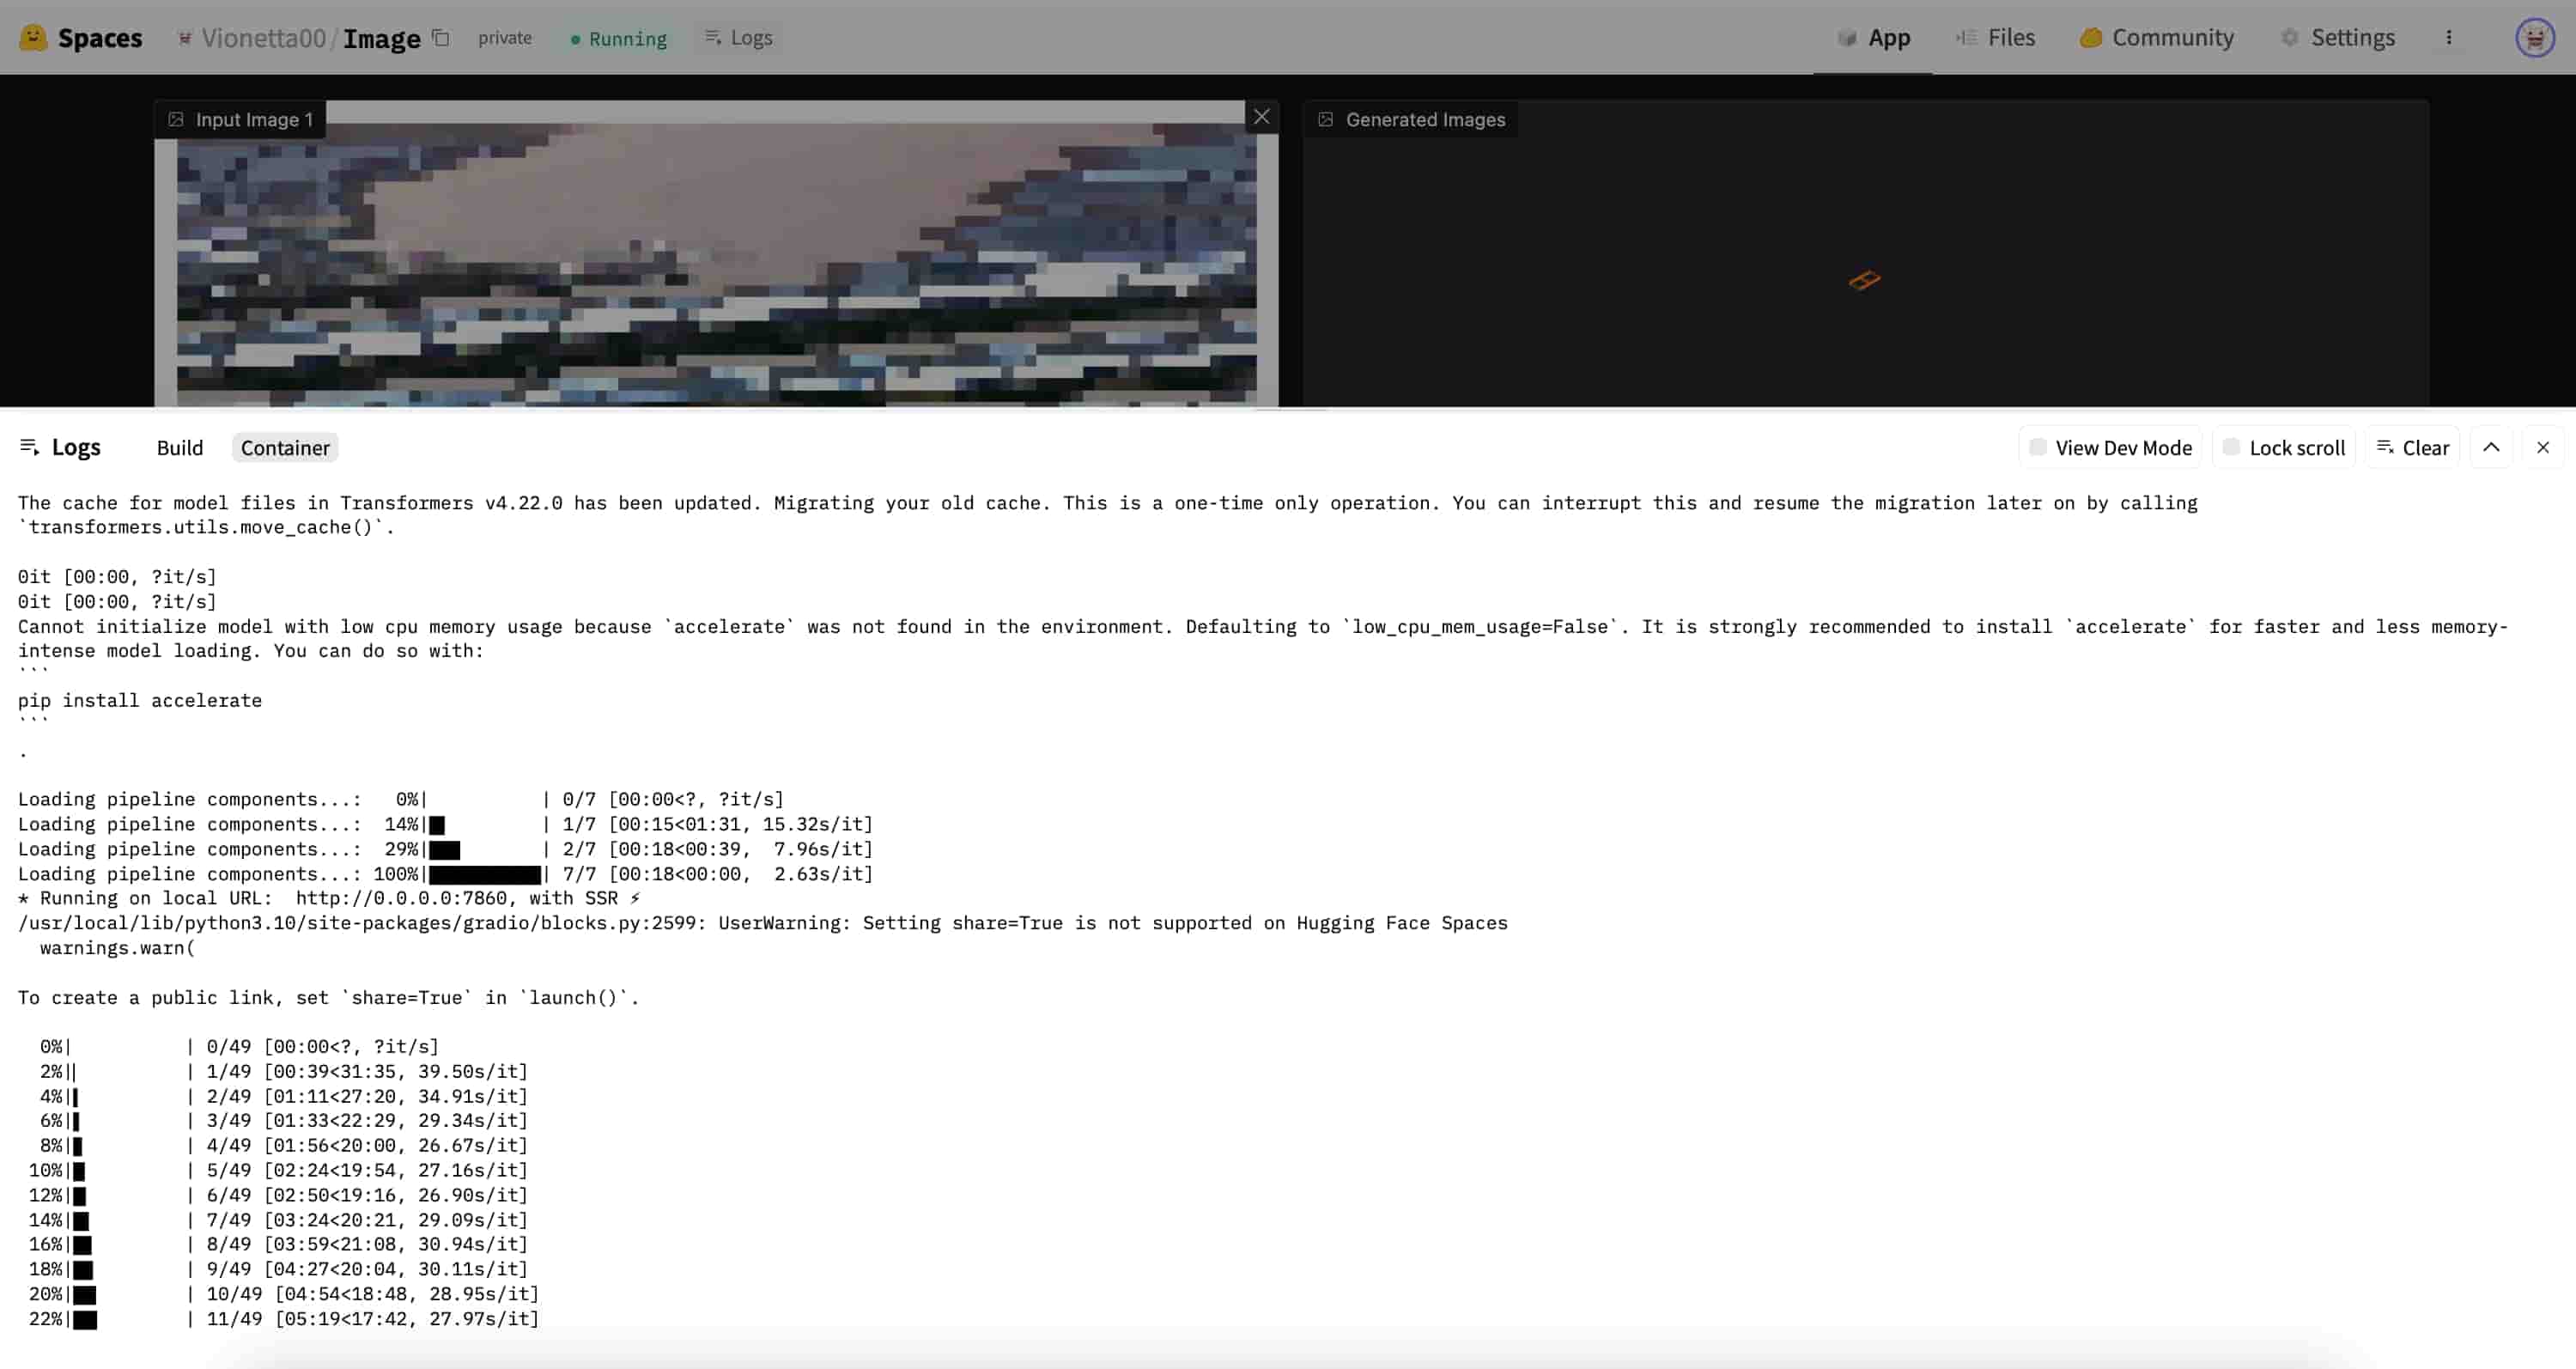
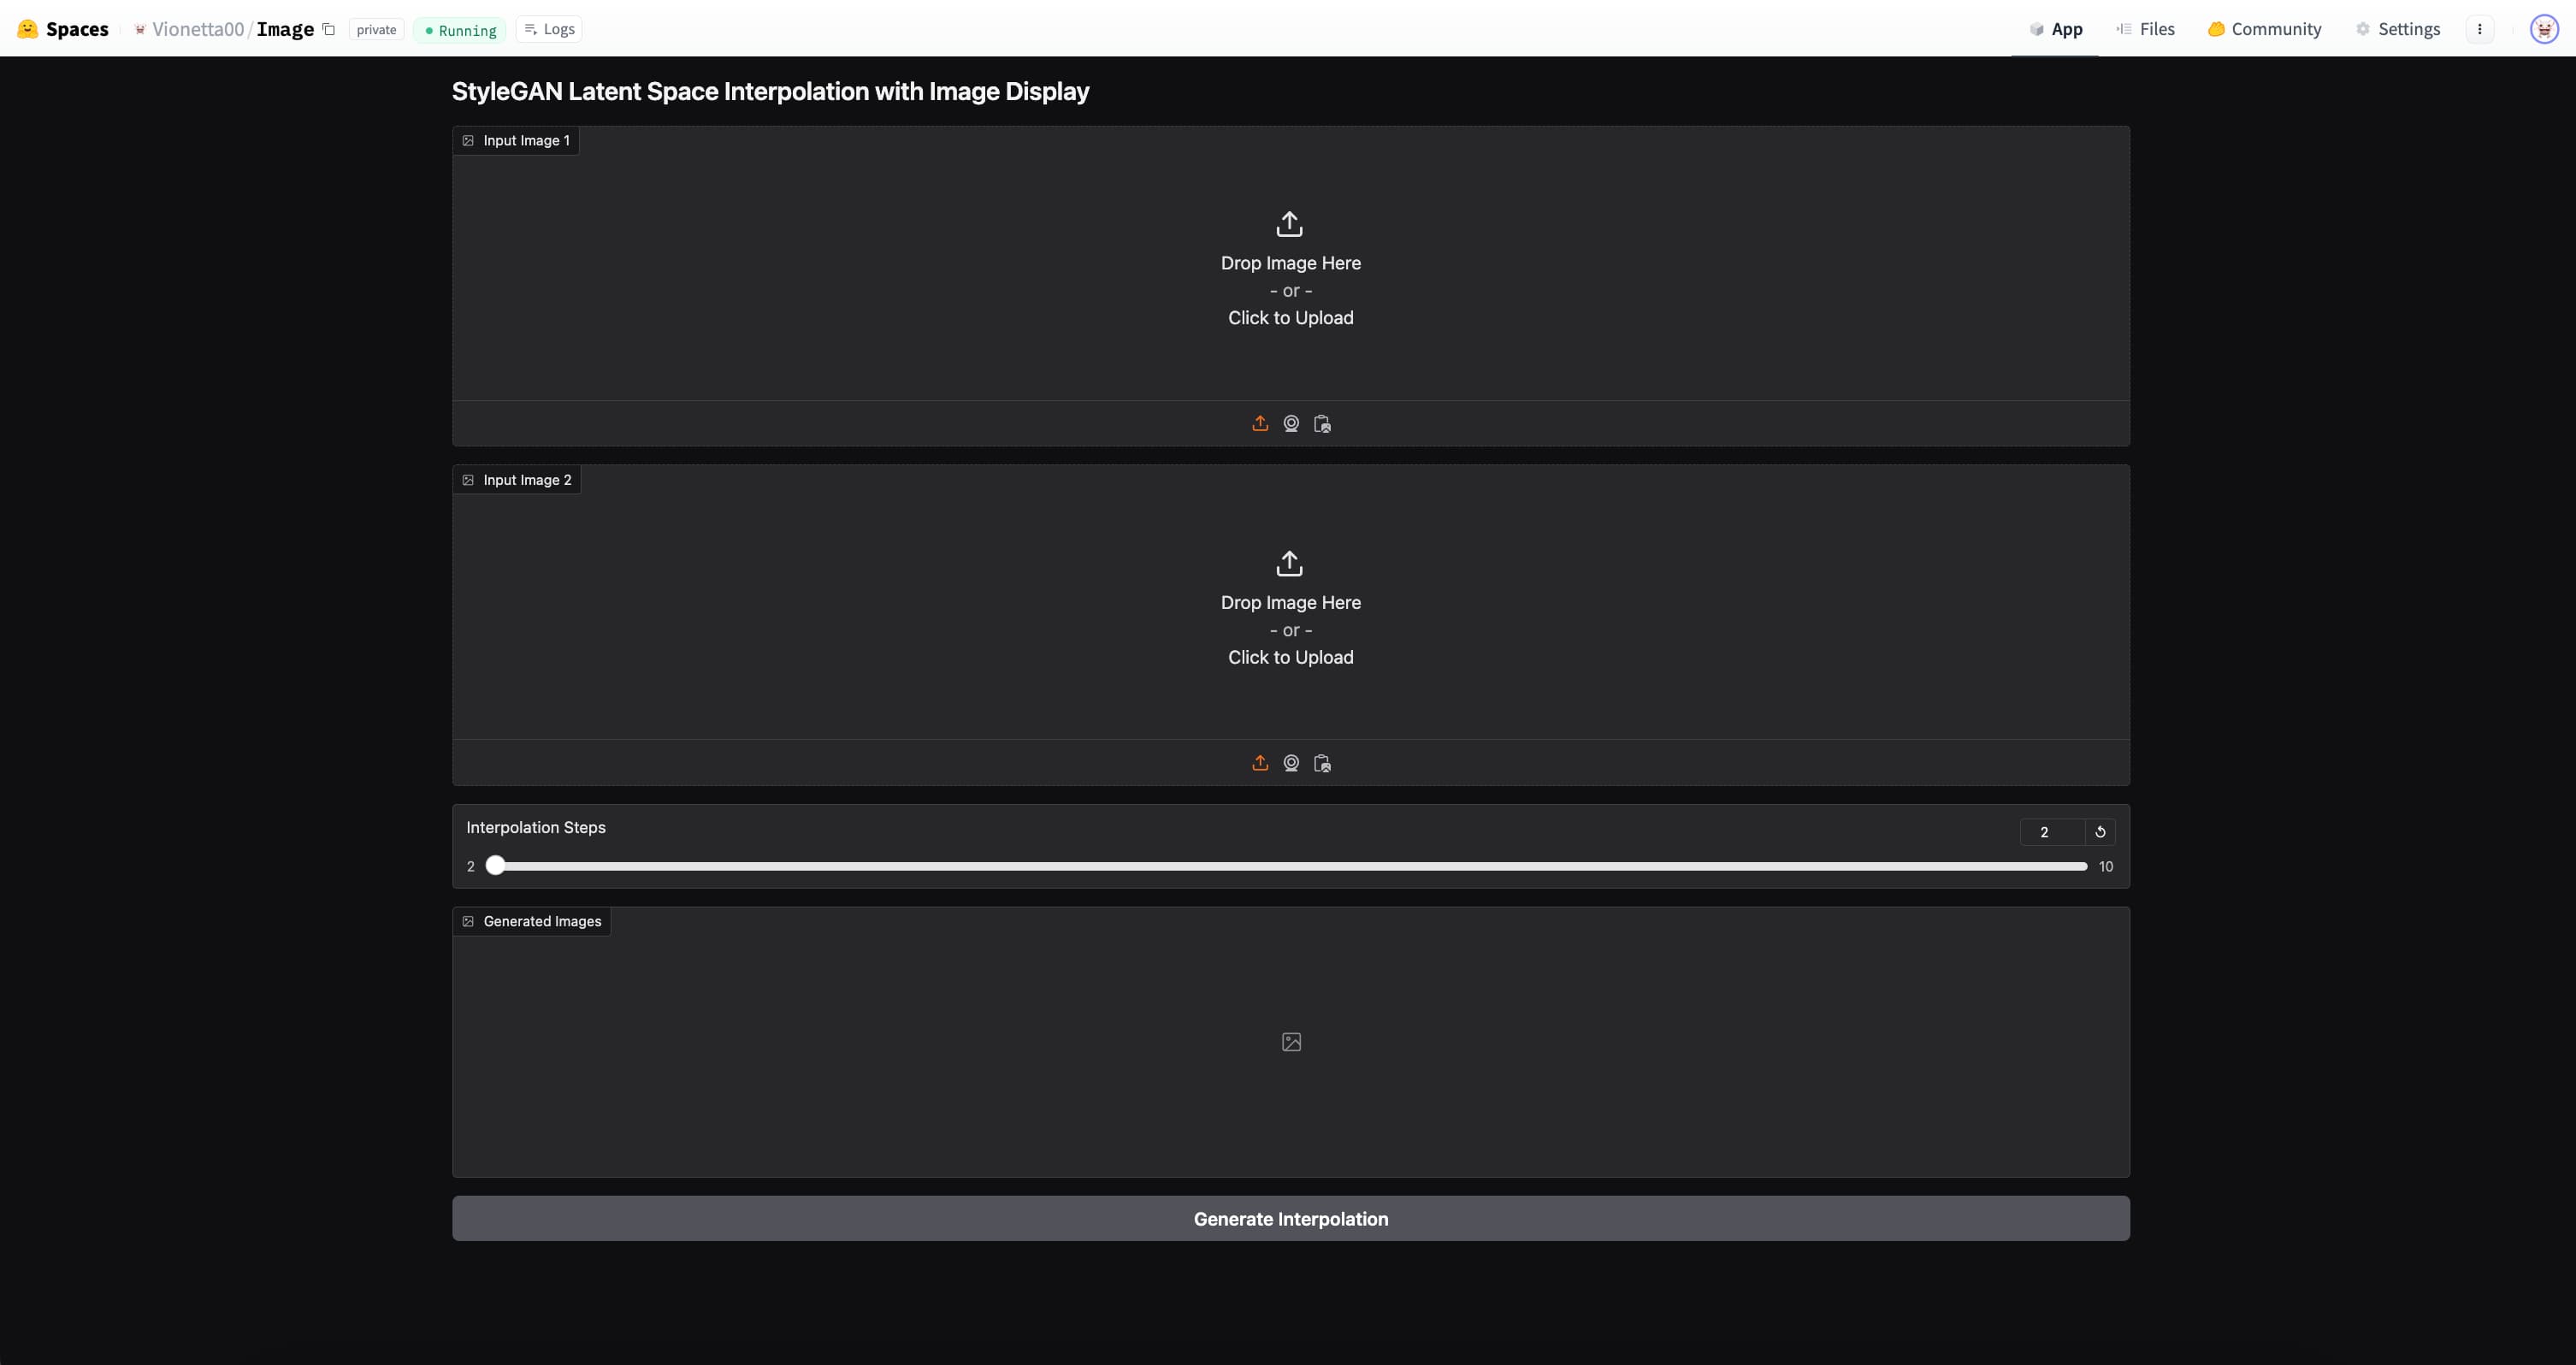
Using Stable Diffusion: Failure
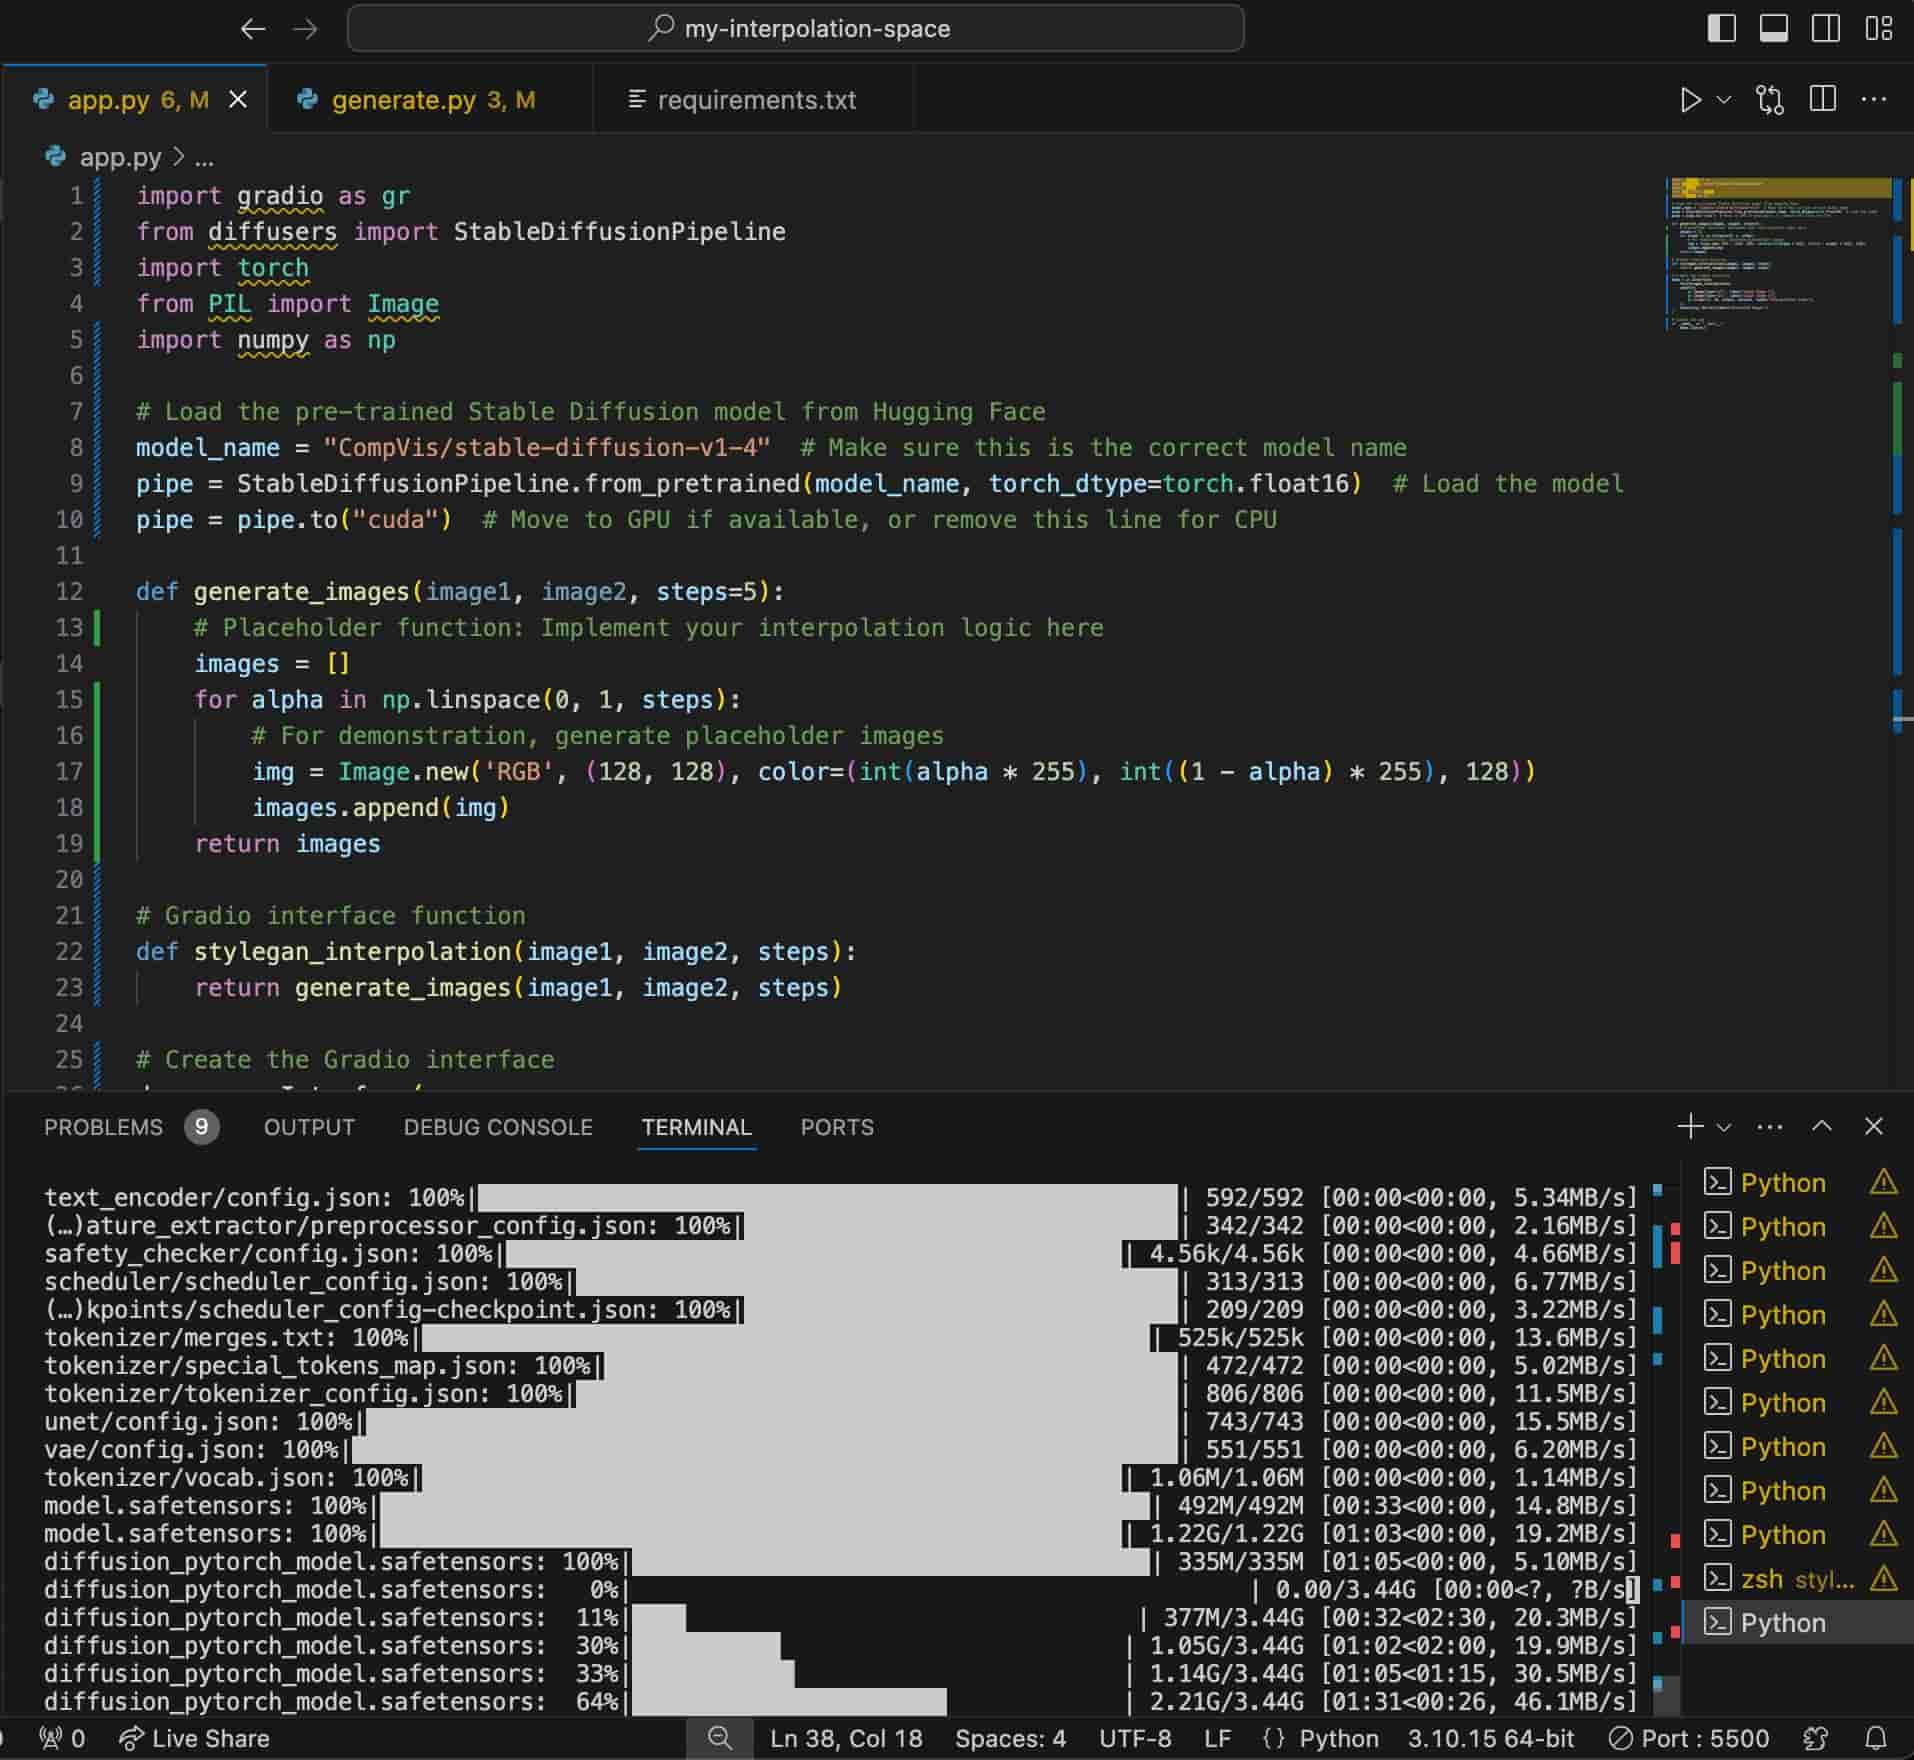
I started my first sketch in Visual Studio Code and connect the sketch code using python to deploy it to Gradio on Hugging Face. After having some fights with ChatGPT about why the code is not working (most of the reasons were because I kept on using a different version of python, which was completely my bad), I finally managed to deploy the demo of the stable diffusion model I sourced on Hugging Face. The app ended up running on the platform, however, the interpolation didn't quite work when I uploaded the image into the app...
Why is it not working?
Firstly, I may not read the instructions well and left some few sources out. I mean ChatGPT is smart but I was relying on it too much. Secondly, It works once, but it took at least 5 minutes to produce one image, and the result was not even a proper interpolation (it just showed a blank image). Thirdly, after a consultation I had with Jake at school, he told me that if I wanted to use the pre-trained model for visual explorations, Hugging Face was not it.
So yeah theres where the Hugging Face journey ended. I thought I could make use of the pre-trained model and deploy them into my own customized website. Without researching about it too much, I realized I was being too impatient which led me to lots and lots of frustrations and the outcomes were not even worth it. After this point, I had to think of another way to visualize the latent space interpolation concept in a more simpler way without needing to use the pre-trained model.
Perfect Synthax by Karyn Nakamura
Visual Narrative
How do I visualize the latent space interpolation without using machine learning model?
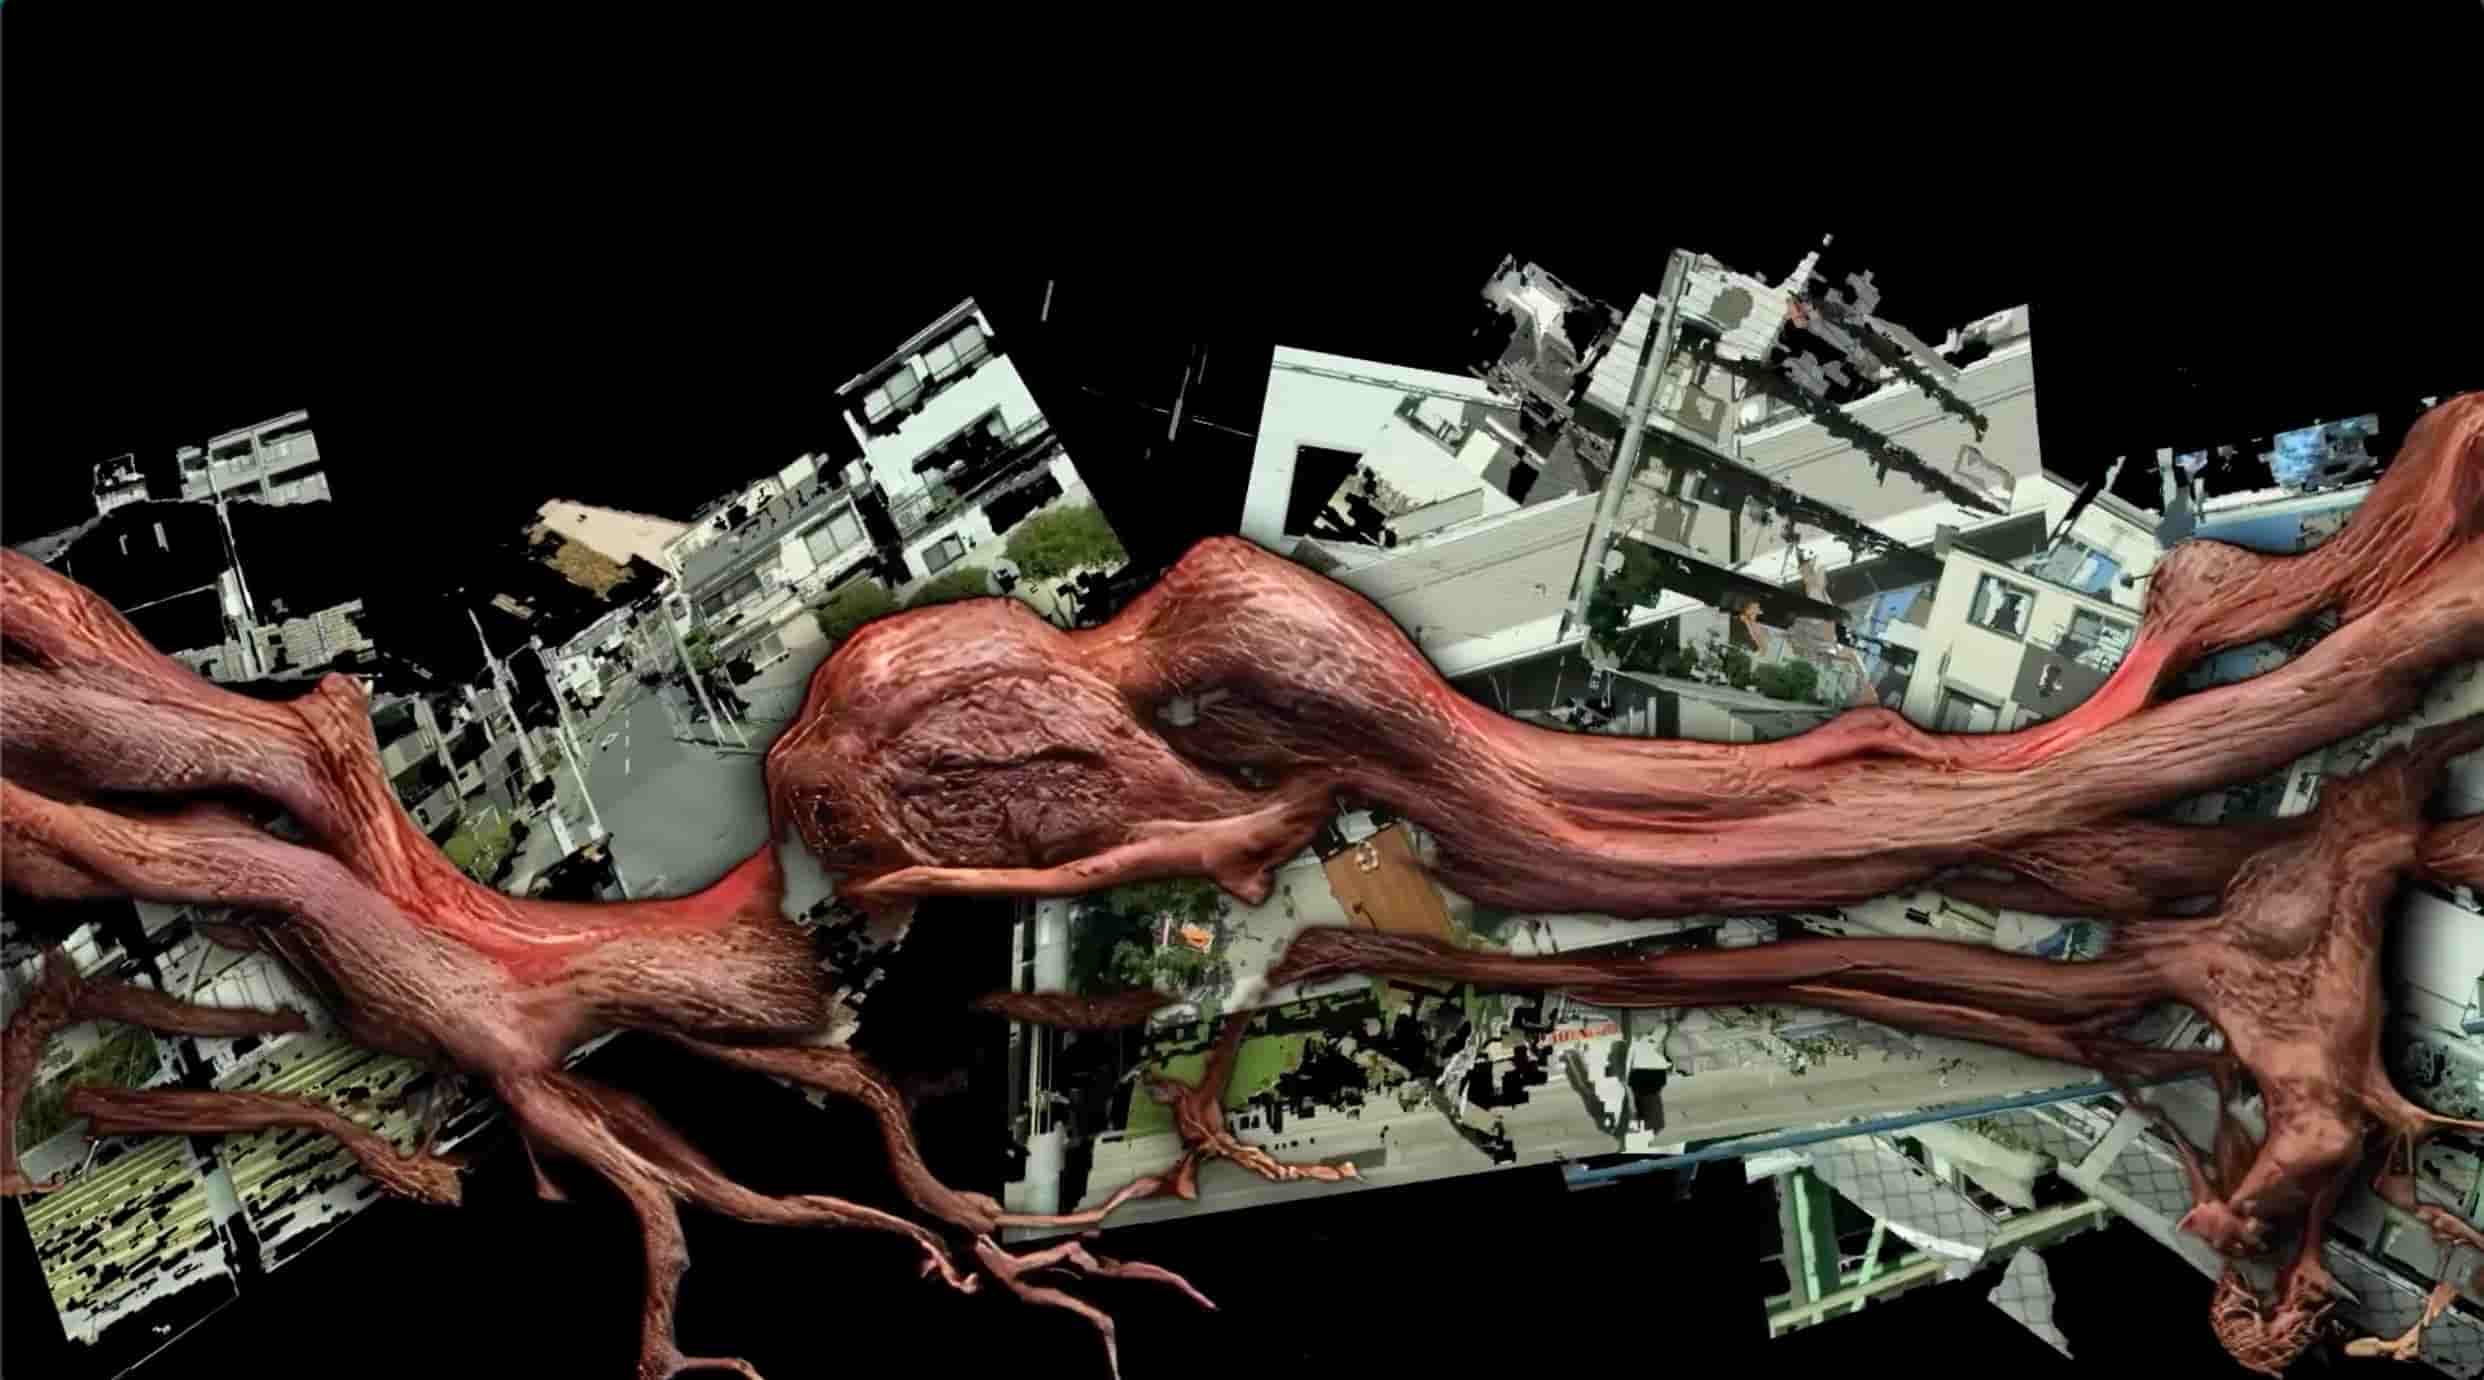
I got reminded of a video art by Karyn Nakamura which she tries to experiment with a range of AI image generation tools, using an artificial muscle that she generated as her narrative of these muscles stitiching the frames together. She uses TouchDesigner and other frame interpolation tools like ComfyUI to interpolate her videos together.
I got inspired from her narrative of "Stitching one frame to another" and it led me to think about how interpolation works might be represented as stitching frames. As the machine interpolates two different data points together, they create intermediate points that could stitch between these points seamlessly.
This idea immediately occured to my mind, and I thought of using pixels as a way to connect the narrative of stitching frames together. What if how interpolation works and how AI could blend images together are represented as stitching frames together? I could use pixels to create a visual narrative of how these frames are stitched through the process of interpolation.
Pixel Sorting
I got reminded of a technique that I followed from one of the TouchDesigner tutorials which is called Pixel Sorting. I found out that this technique was first created by an artist called Kim Asendorf on Processing. One of the source I searched said that the original script code was very cryptic and hard to modify, which lead to a lot of people creating their own versions of pixel sorting in different programming languages.
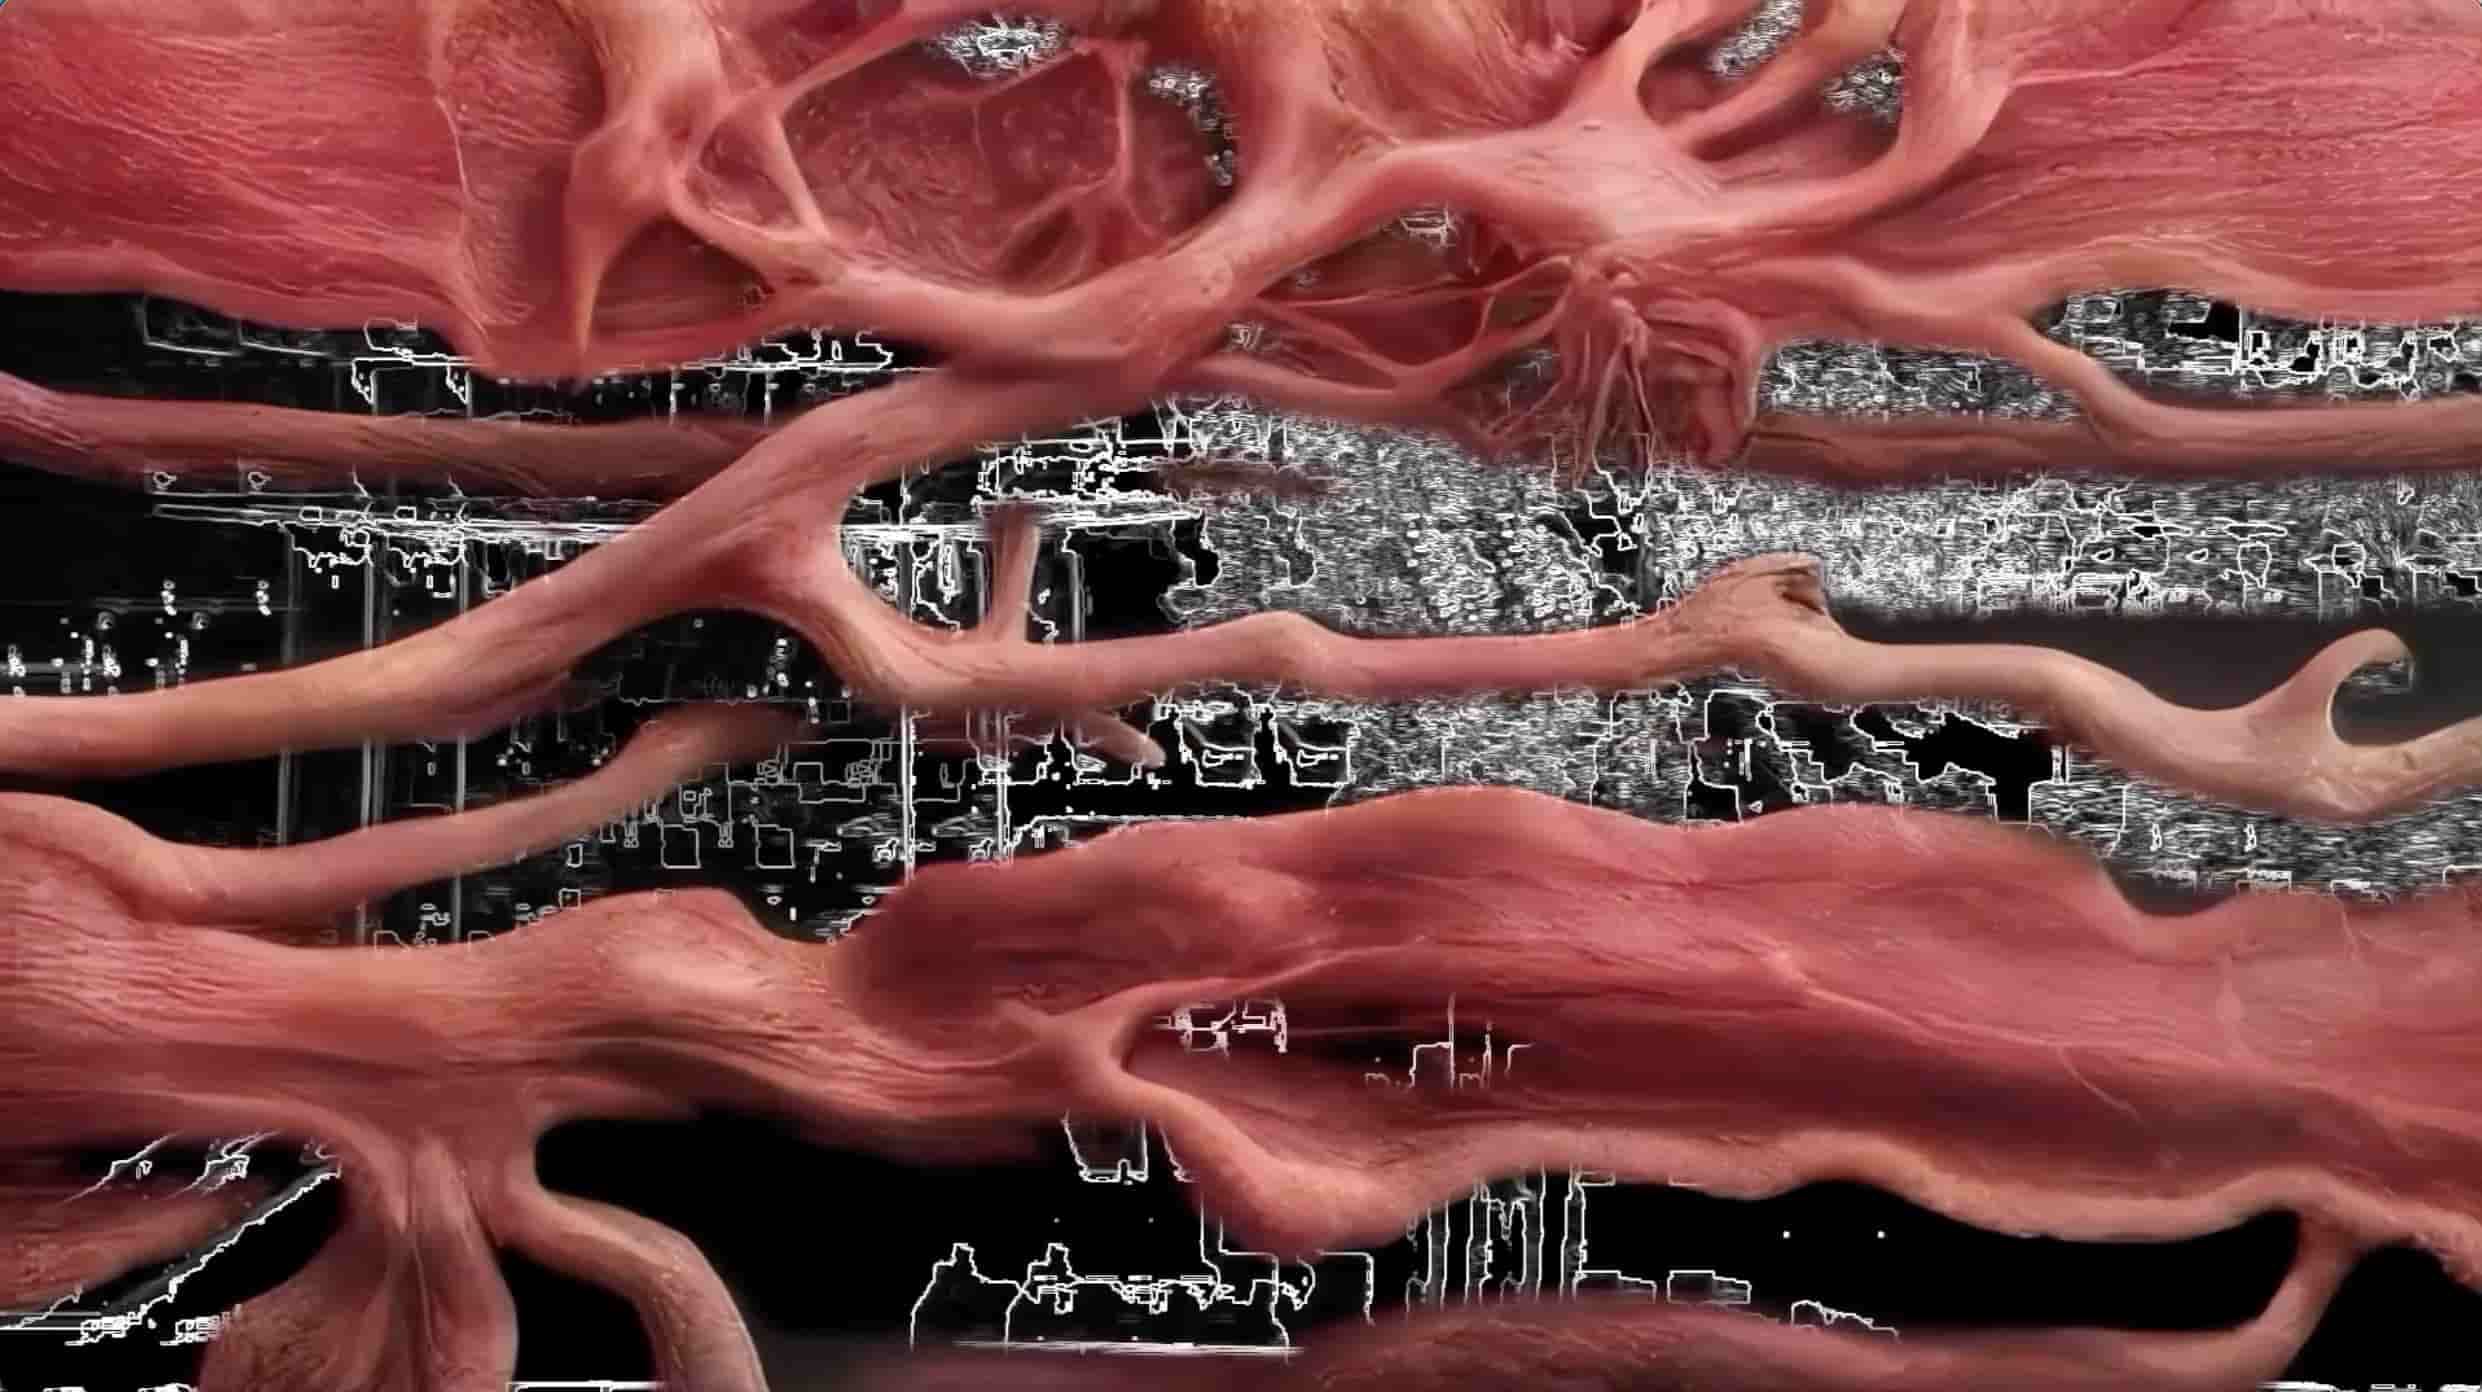
As the source said, Pixel sorting is a technique that selectively orders the pixel in the rows/columns of an image. This technique produces an interesting, glitchy effects,which I found visually pleasing as well as a visual outcome. So I decided to dig to my old sketch on TouchDesigner, which I believe is more like a pseudo, rather than the original pixel sorting.
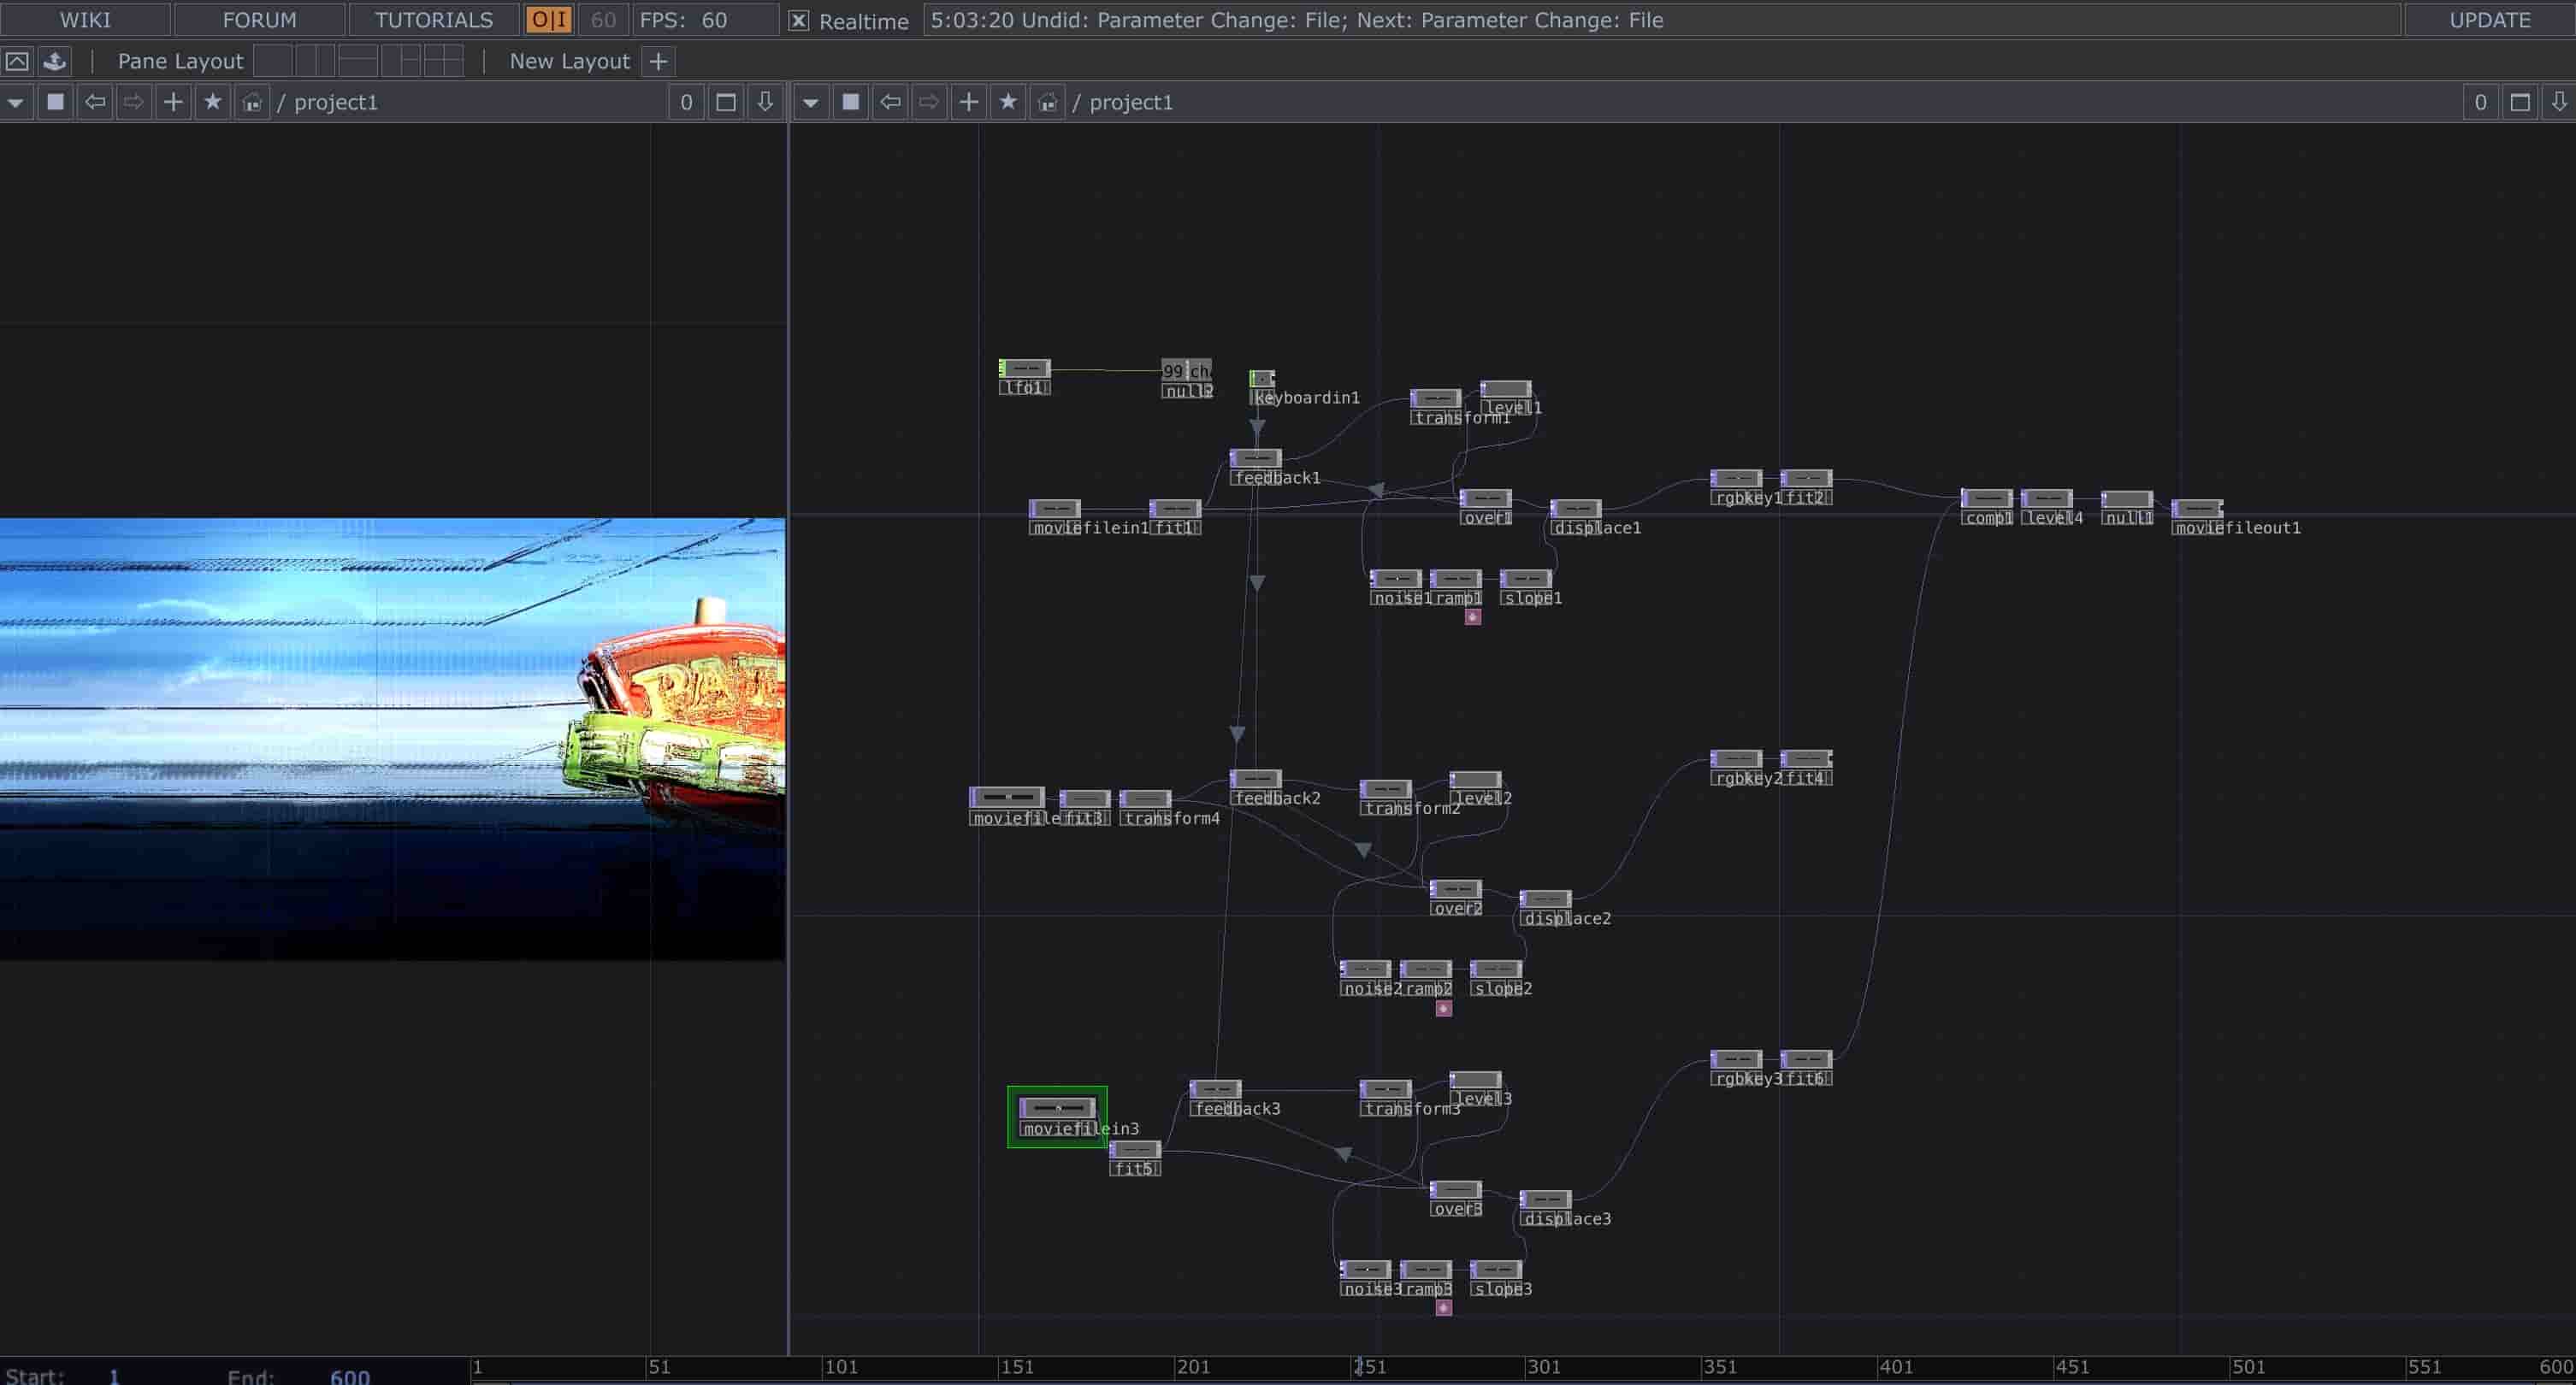
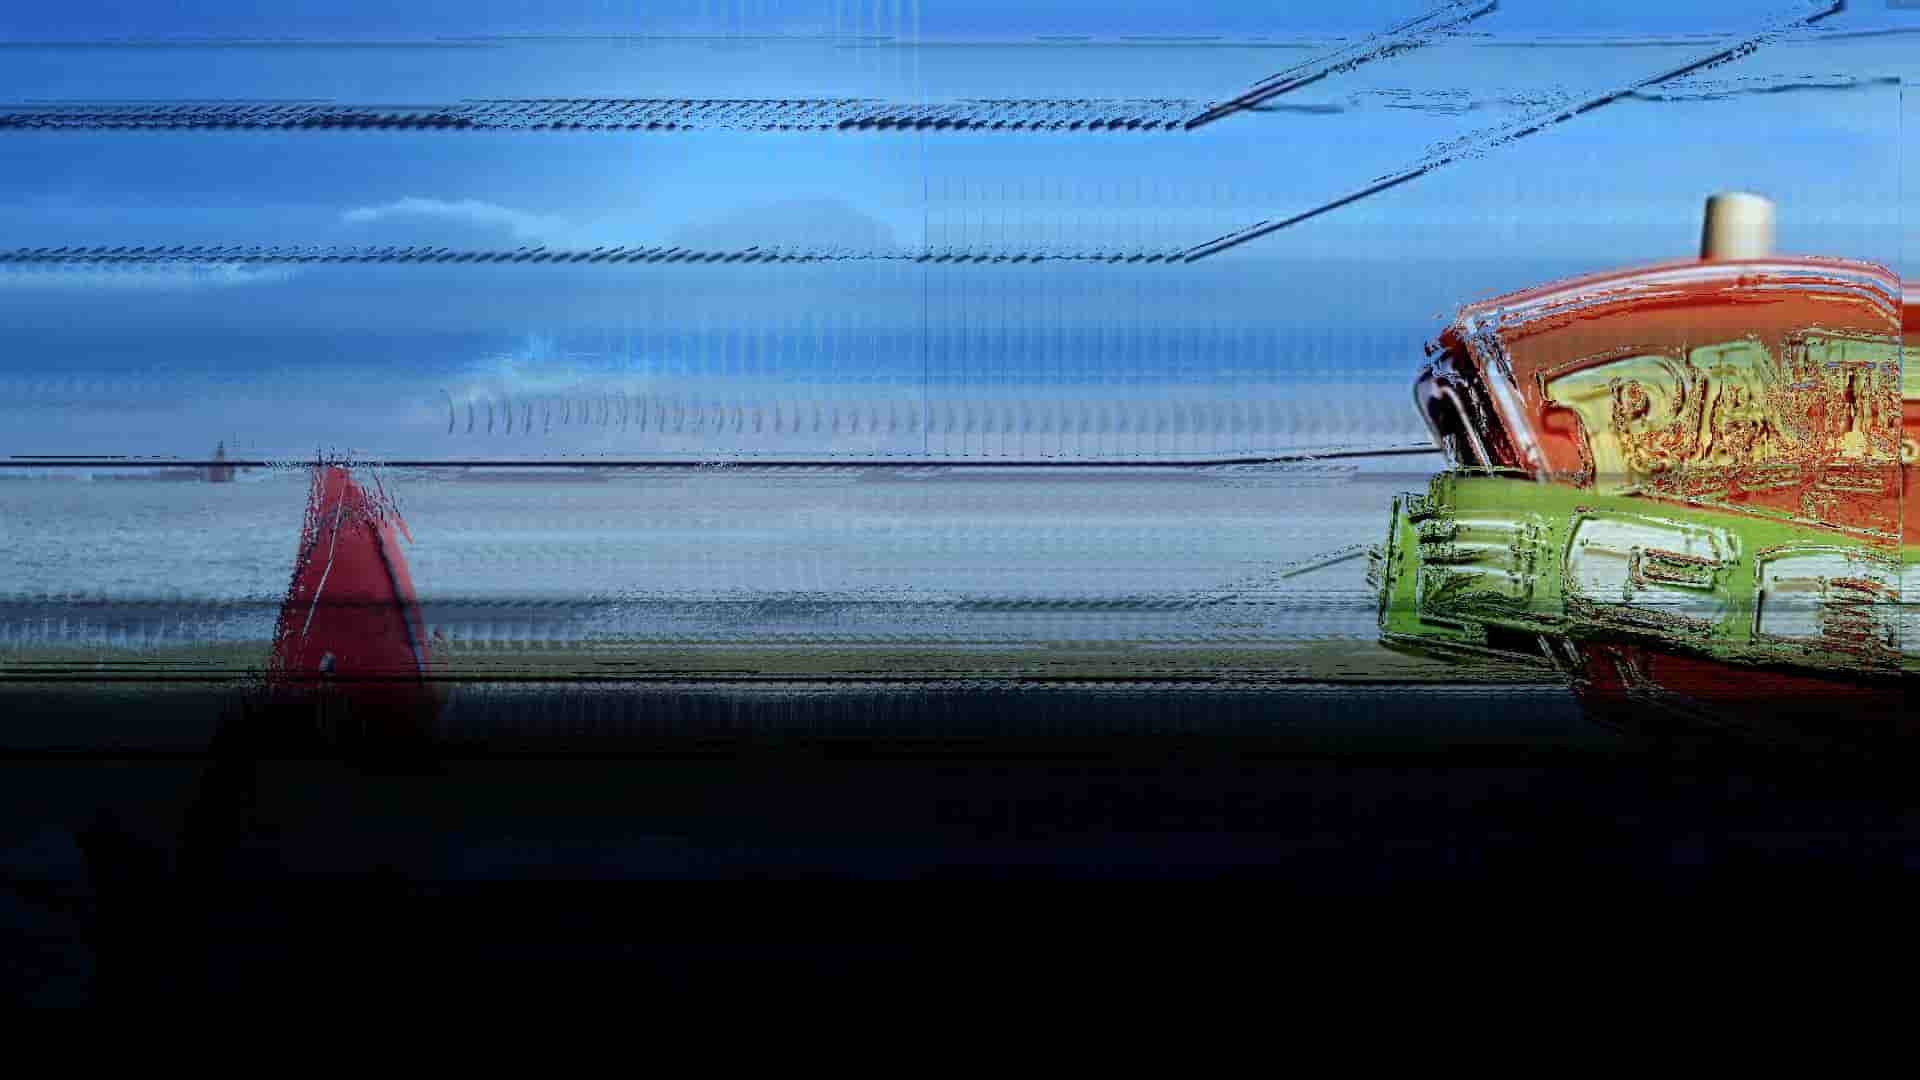
Process of Pixel Sorting on TouchDesigner
Visual Experimentation
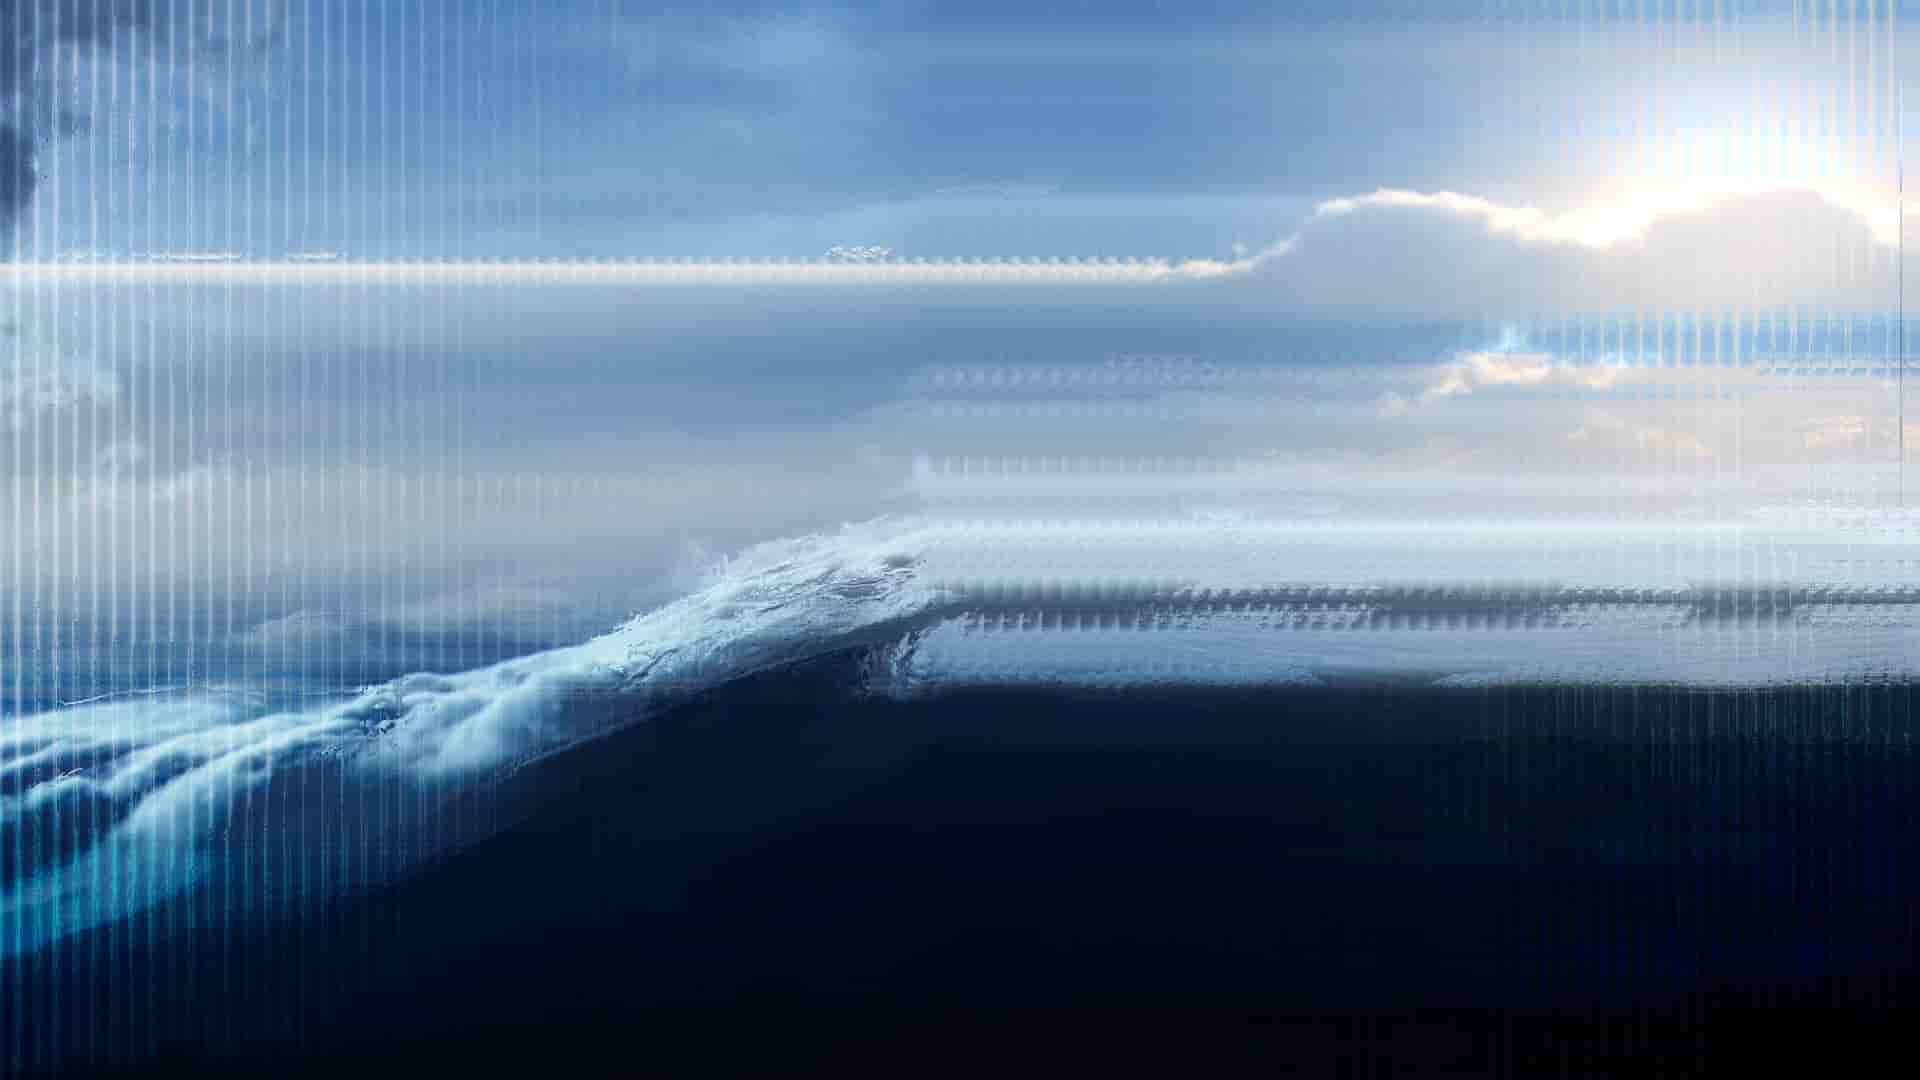
I decided to try create my own sketch pixel sorting using this TouchDesigner sketch tutorial I found on youtube in which it uses a feedback technique to stretch an image using transform and ramp operator. Although it doesn't technically defines as a pixel sorting technique, it has the same visual effects of the pseudo pixel sorting technique, using feedback loop as the main operator.
I found this quite interesting as it doesn't only overlay these 2 different images together, but the transform operator with the feedback loops kinda blend the image together, making a new images that creates somehow like a new scenery.
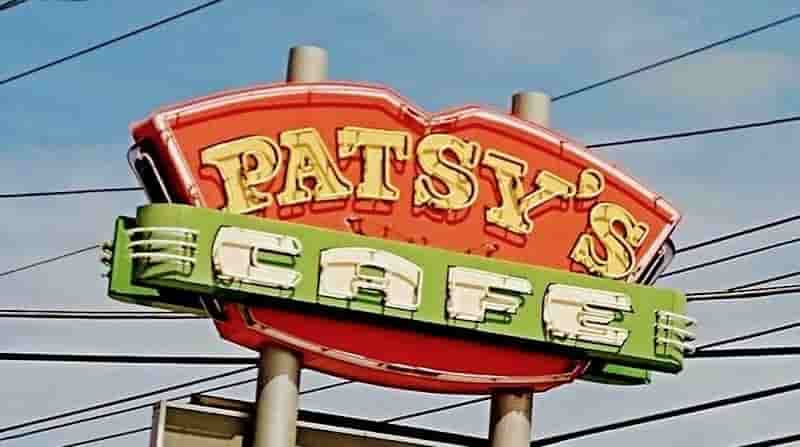
You can see the last image where I combine three different images into one, and it looks like a view from a car window, with the sky and the signage as the scenery. The electric wires from the signage image seamlessly blend with the sky background from the first image. I quite like how it turns out, its like creating a new memory using different images.
Matching Pixel Values to create new images
Video
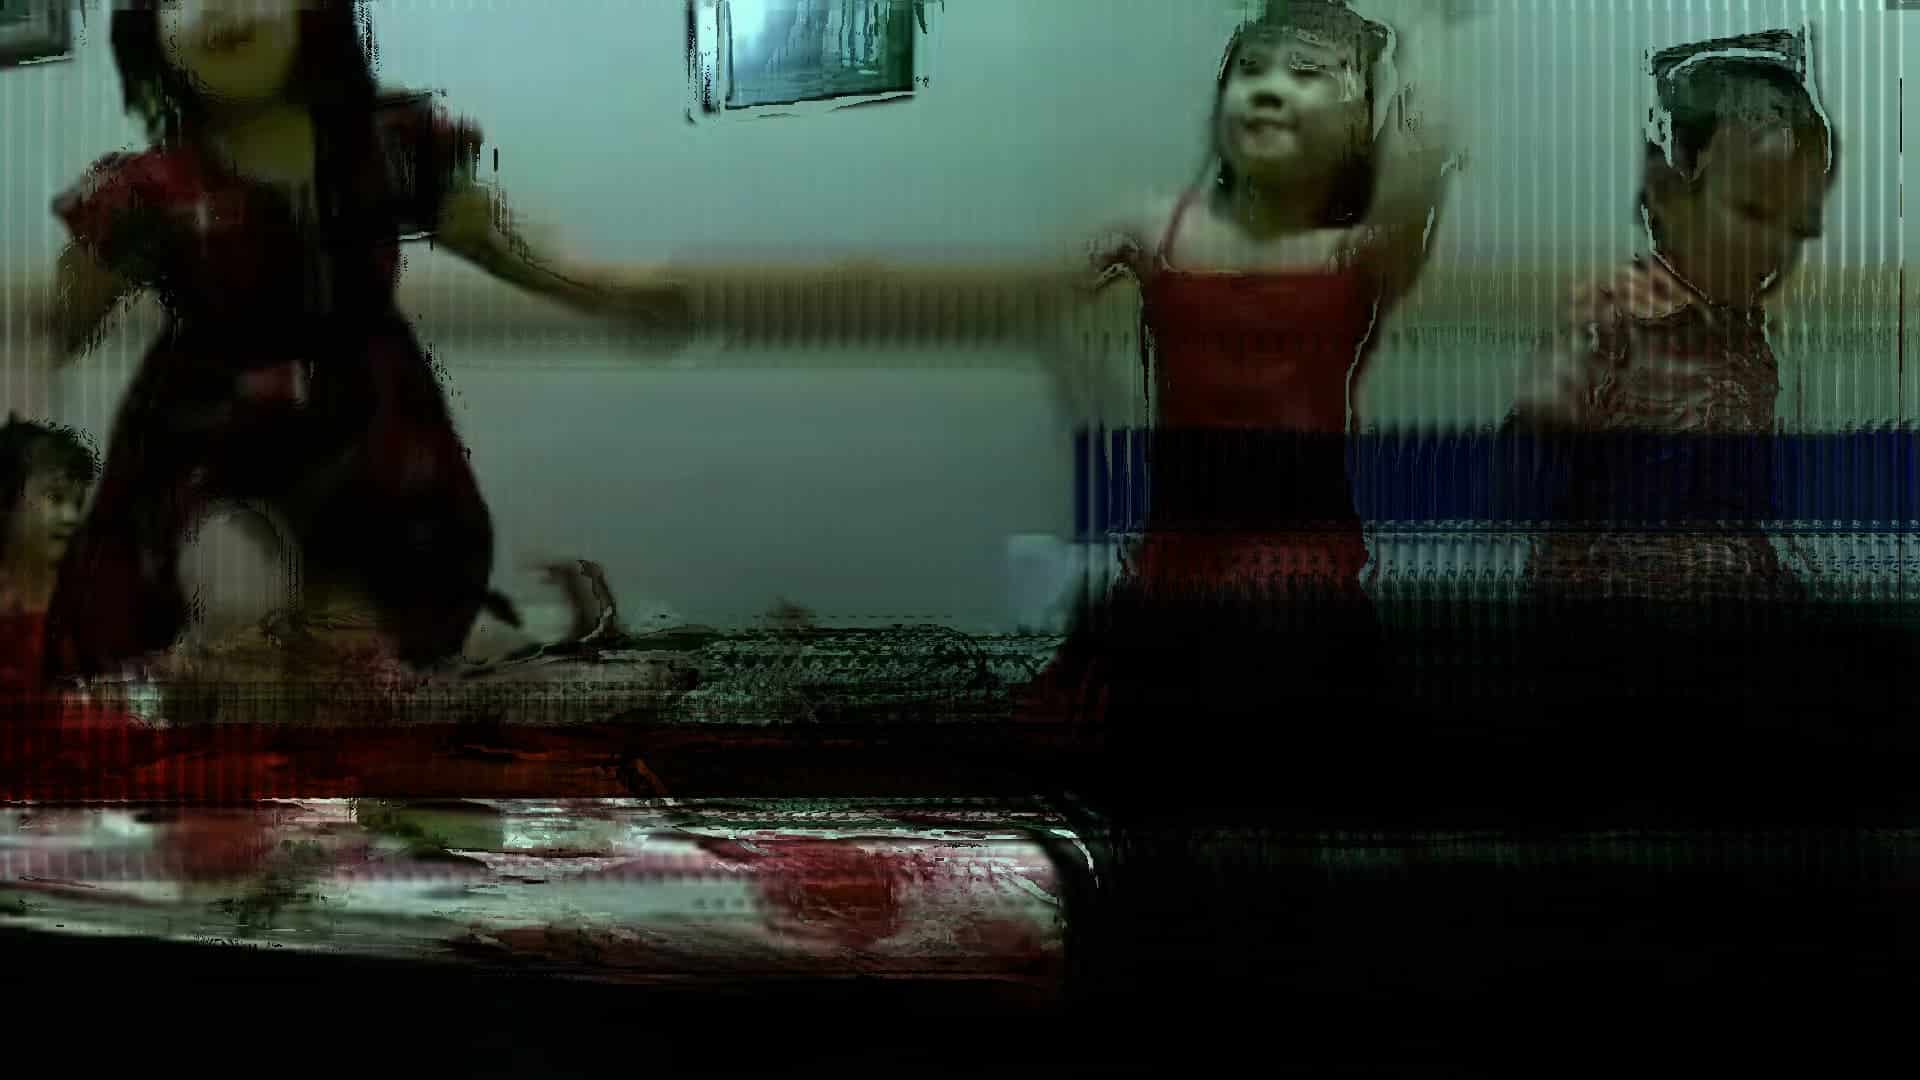
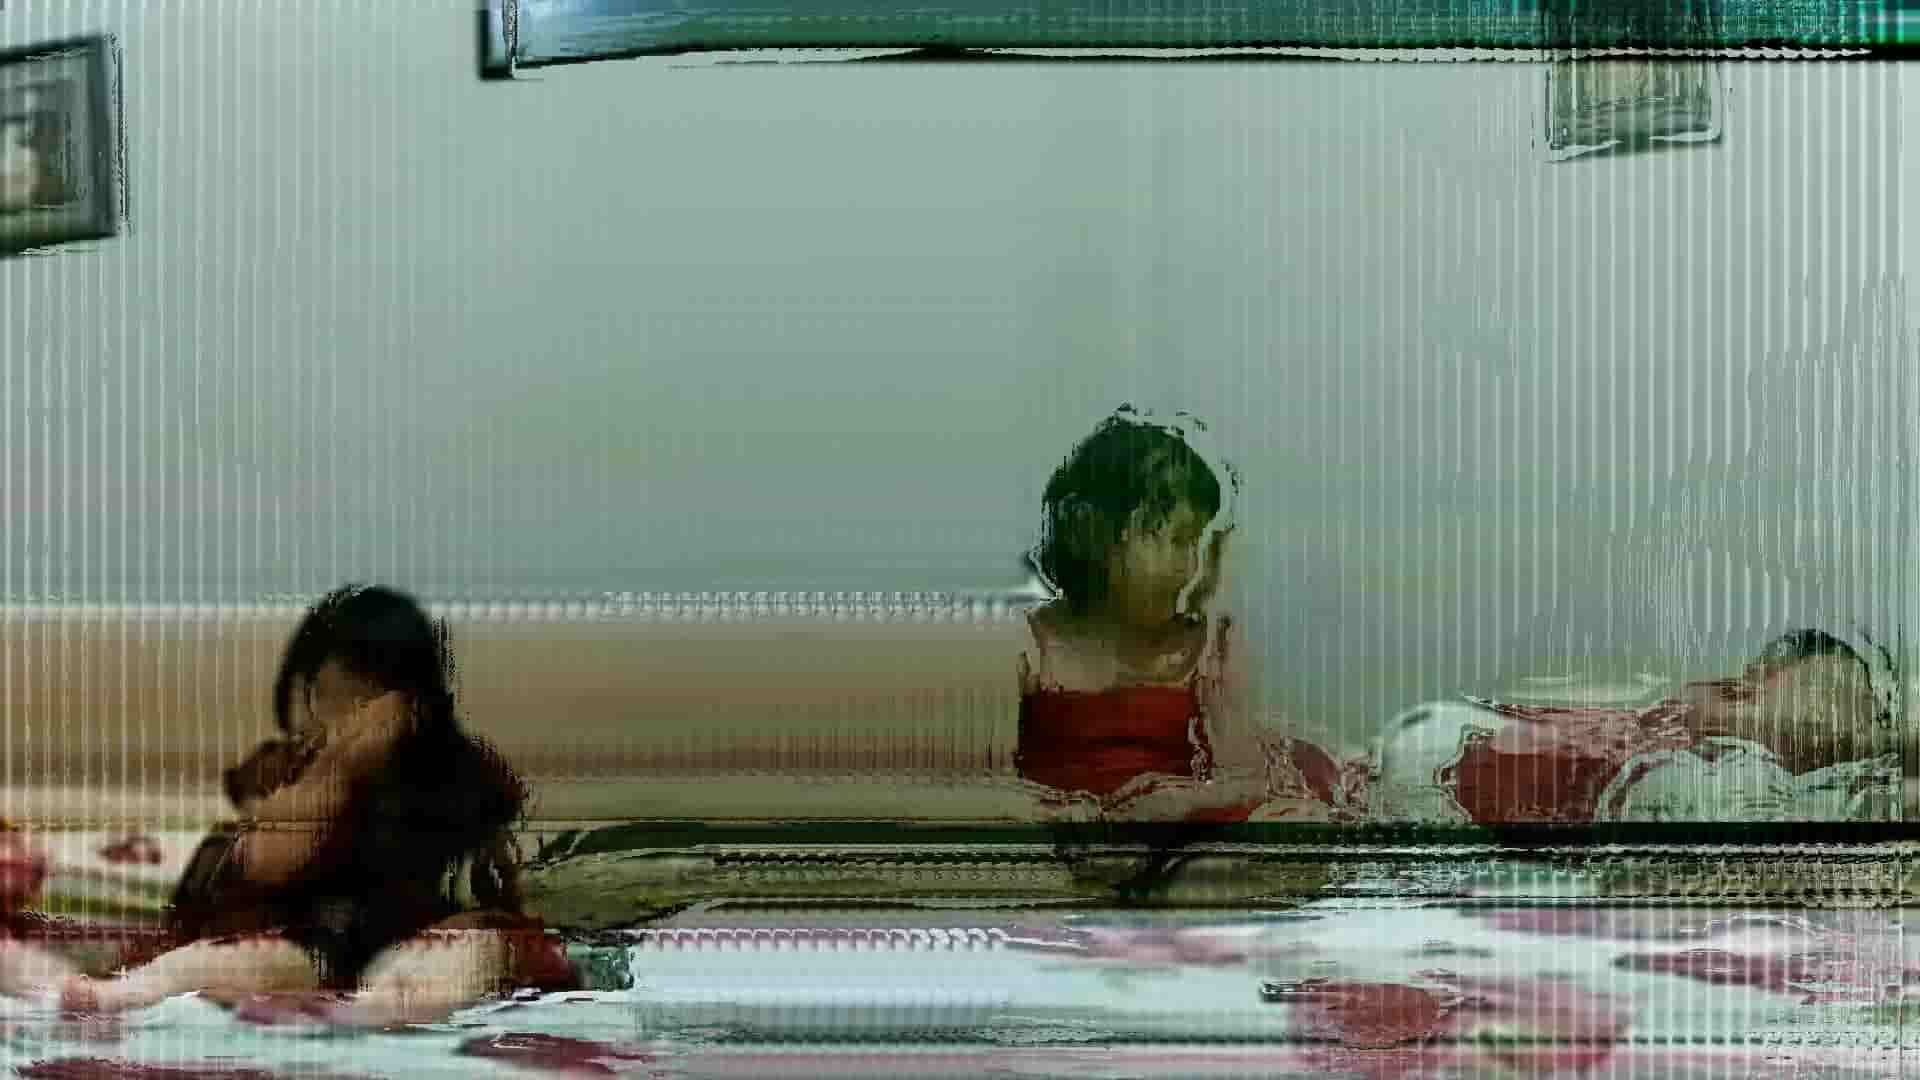
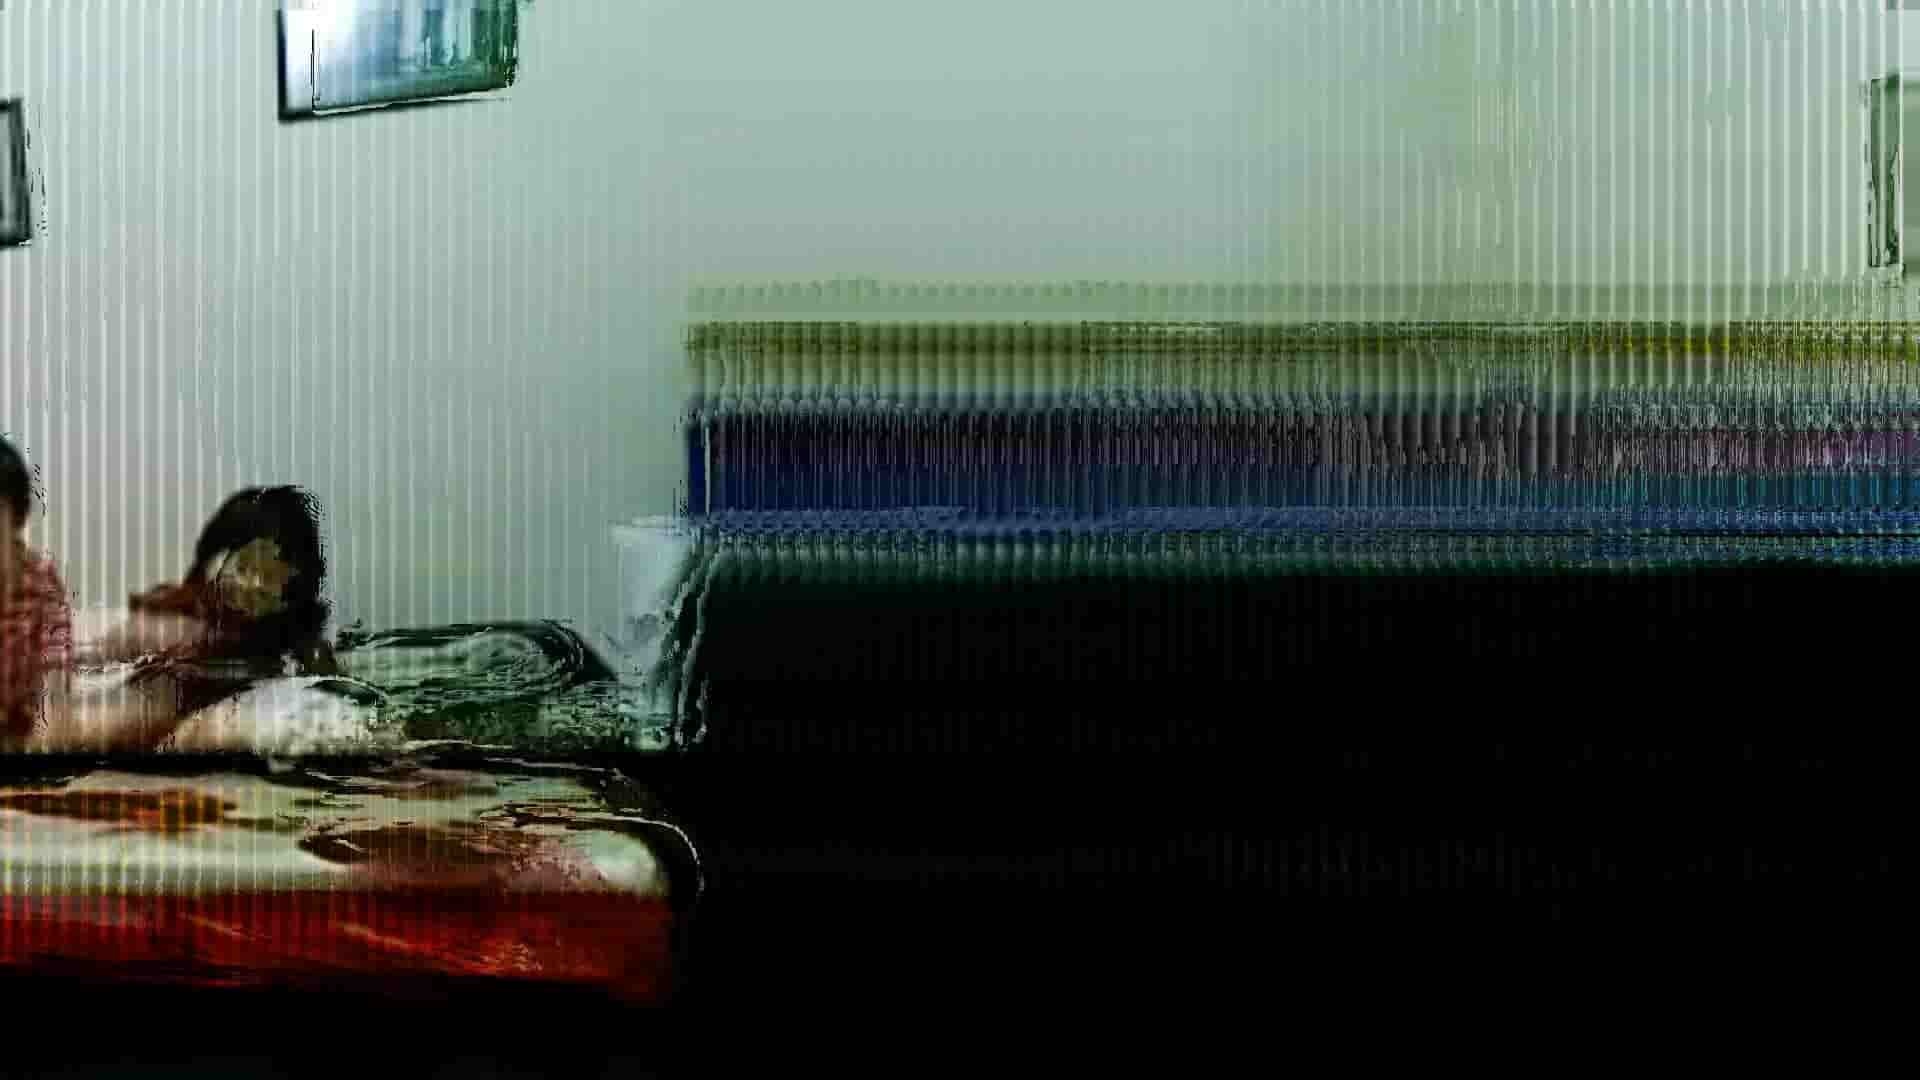
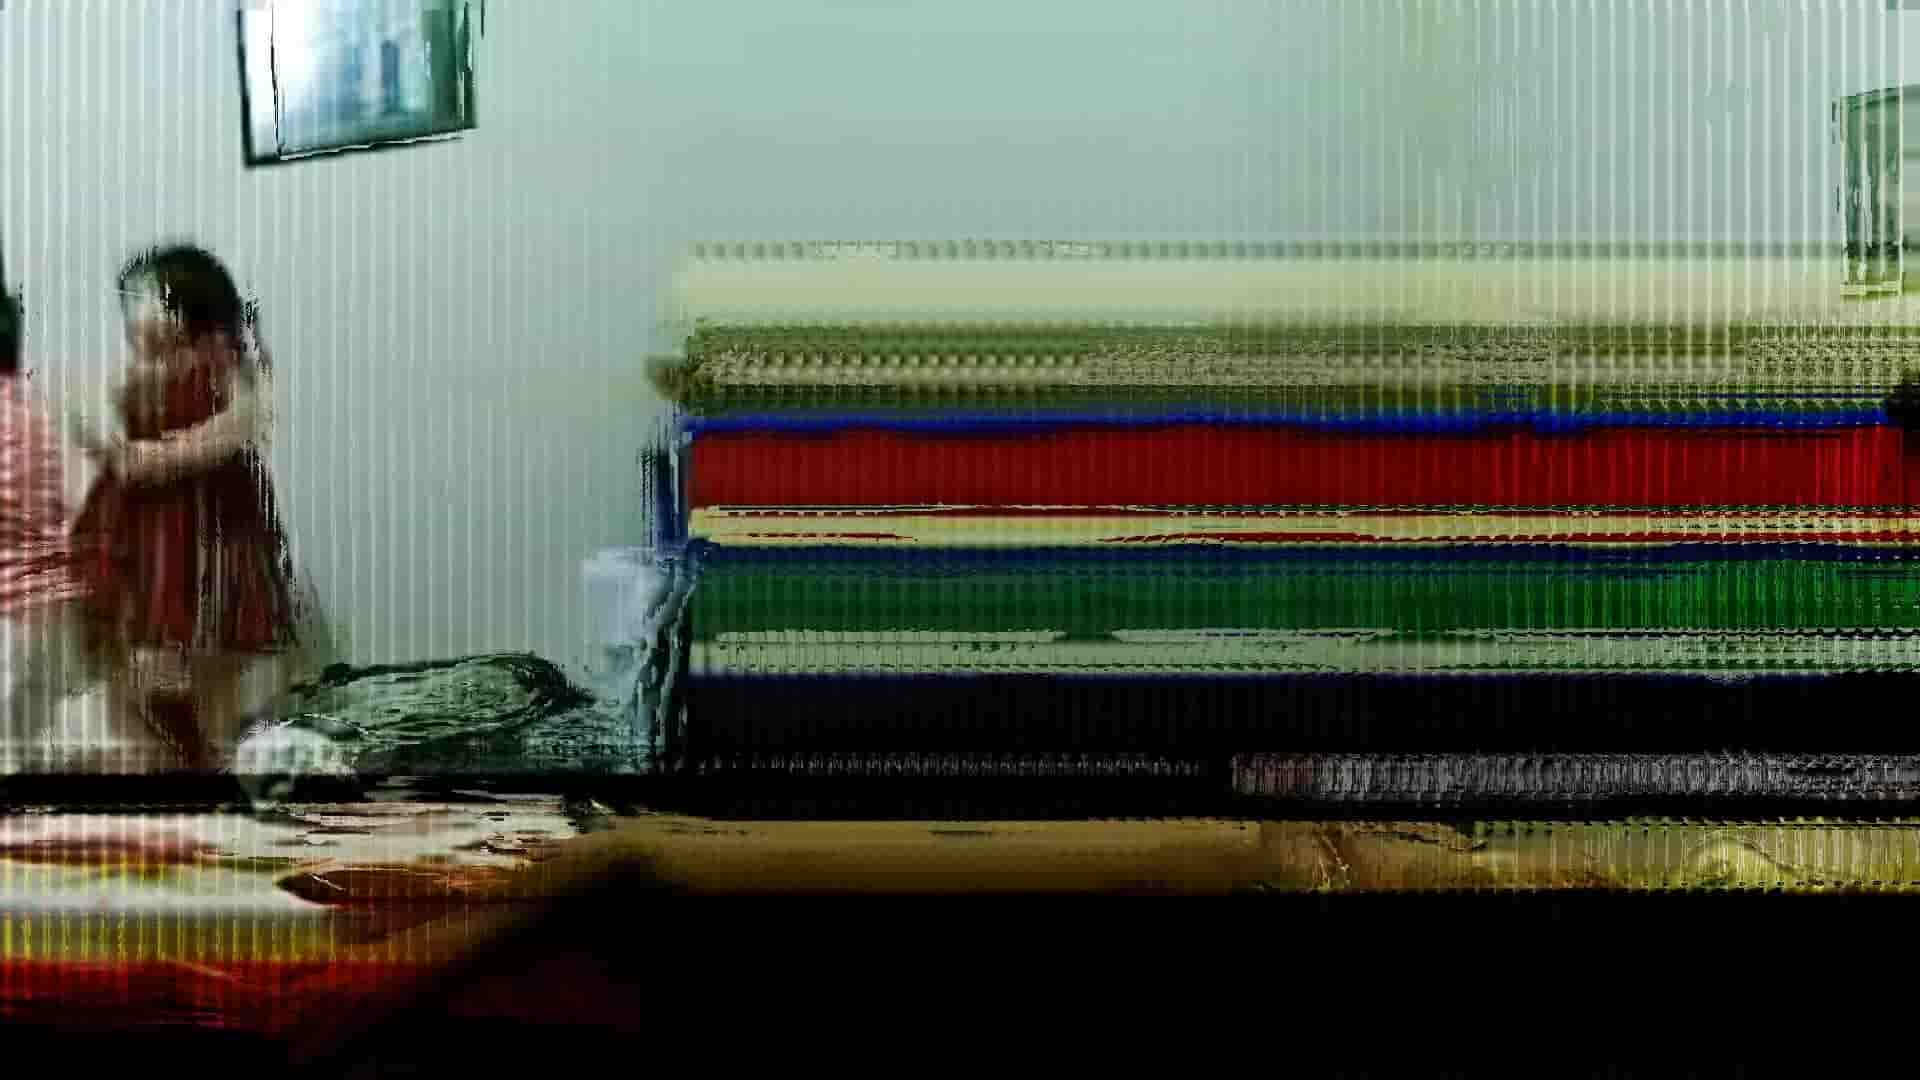
Stitching Frames
Using the sketch code I experimented with, I created a video as an outcome. In this video, I used a video from an old digital camera. A video of me dancing as a kid with my siblings jumping on the bed. Like three monkeys jumping on the bed. I decided to divide this video into 2 different clips and see what it turns out when I try to "stitch" 2 different clips together into one.
The resulting video shows a poetic visual representation of how interpolation might look like if the data don't blend seamlessly as how normal interpolation tools work. Some of the results are quite nice, like how in one of the outcomes, it stretches the whole wardrobe and creates this chunk of colorful look a like blanket.
I also found the video quite nice as how there are colors that are kinda chopped out in weird positions as the person (my sister) in the video moves and jumps. It creates this weird, glitchy effects which I found visually pleasing as well. I also like how the picture frame in the video kinda stretch making it look larger than the one in the original video.
Moving Forward...
I thought that these experiments of visualizing the latent space actually produce interesting outputs. By visualizing such an abstract concept, I could also create a visual narrative that at least makes sense to me. Although maybe not for other people, but at least the outcome shown are visually appealing and interesting. The video outcome also looks like "a memory", my friend said when he saw the video.
The only problem I had seeing the upcoming weeks are how am I going to proceed for the final prototype after doing these much of experiments. As Andreas have mentioned quite alot, I need to find a way where I can present these experiments to other people. The worst case scenario I had was that no one will care about my work, and no one will visit my table. I felt like I want to cry everytime I think about it. I had never cry these much before for doing school assignment...